Sorry,in no particular order

.....
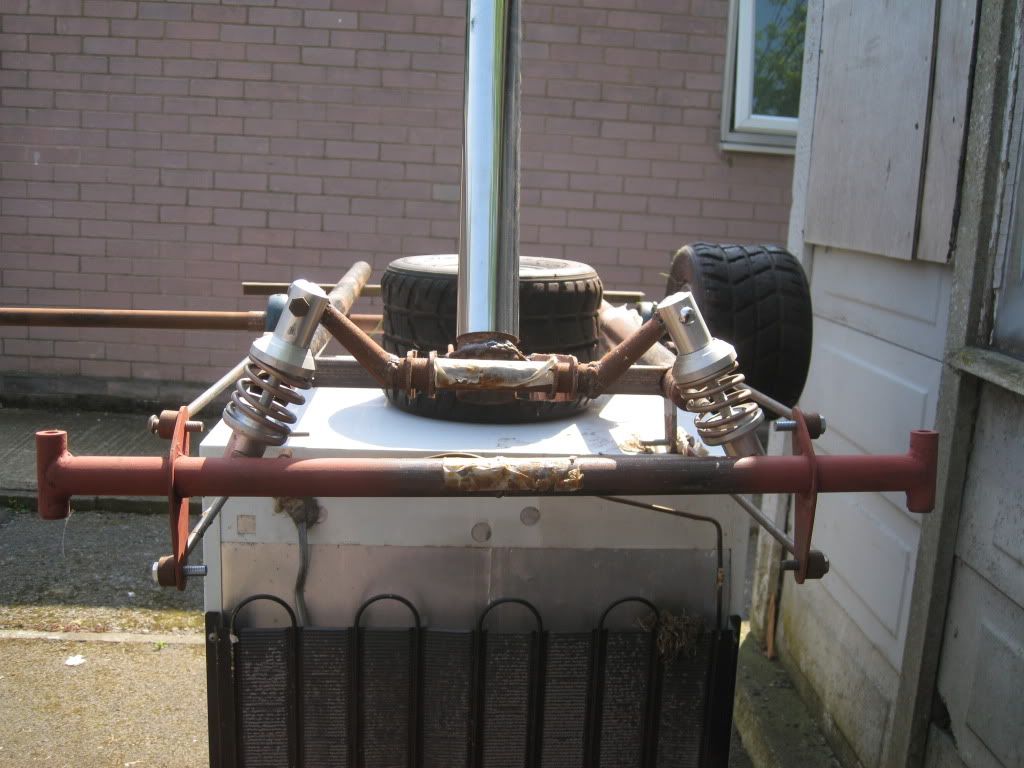
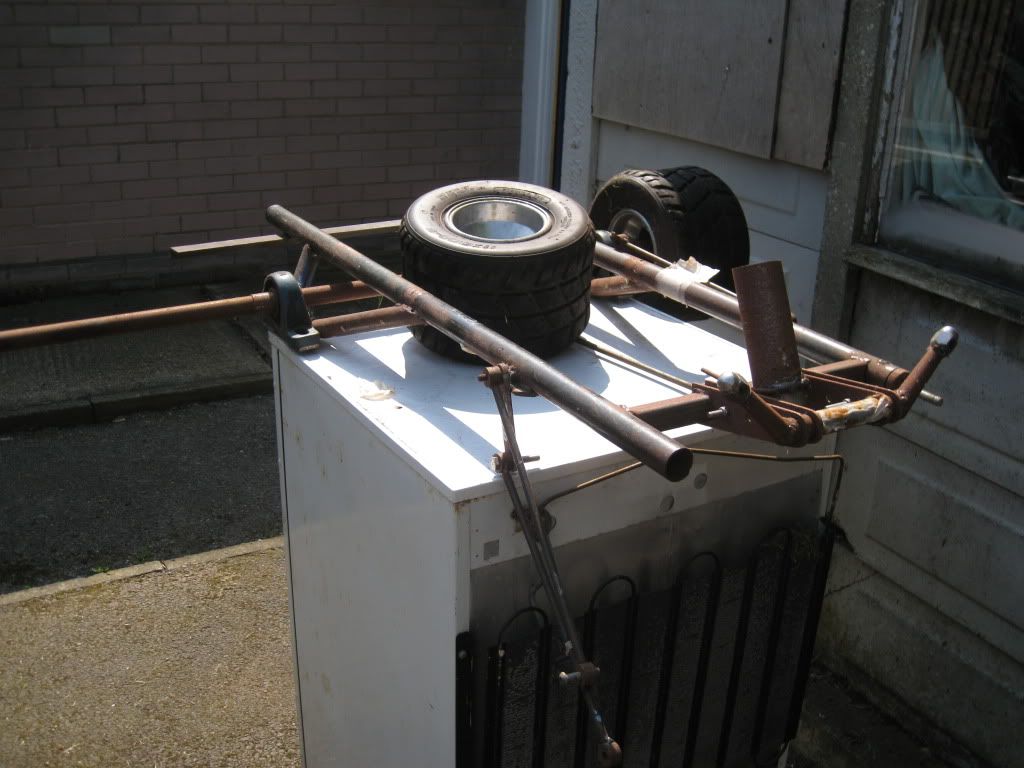
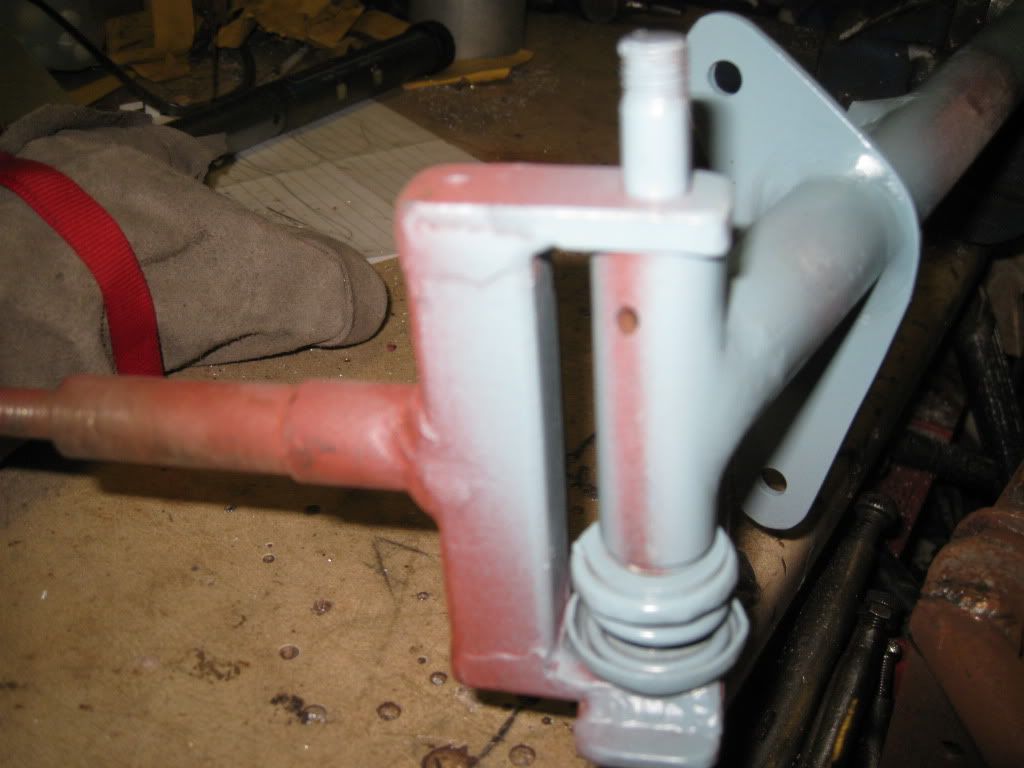
This is the stub axle assembled onto the axle. Theres 2 cups,bent from penny washers to locate the spring,plus brass discs top and bottom to help with the wear. Although its only a short spring,its surprising how much it absorbs the bumps. It also helps to keep the steering reasonably tight. The springs are chopped from a long spring found inside doors closers. Valve springs could be used,but may be too long .
Rods little wagon project

Rods little wagon project
Rods little wagon project
Rods little wagon project
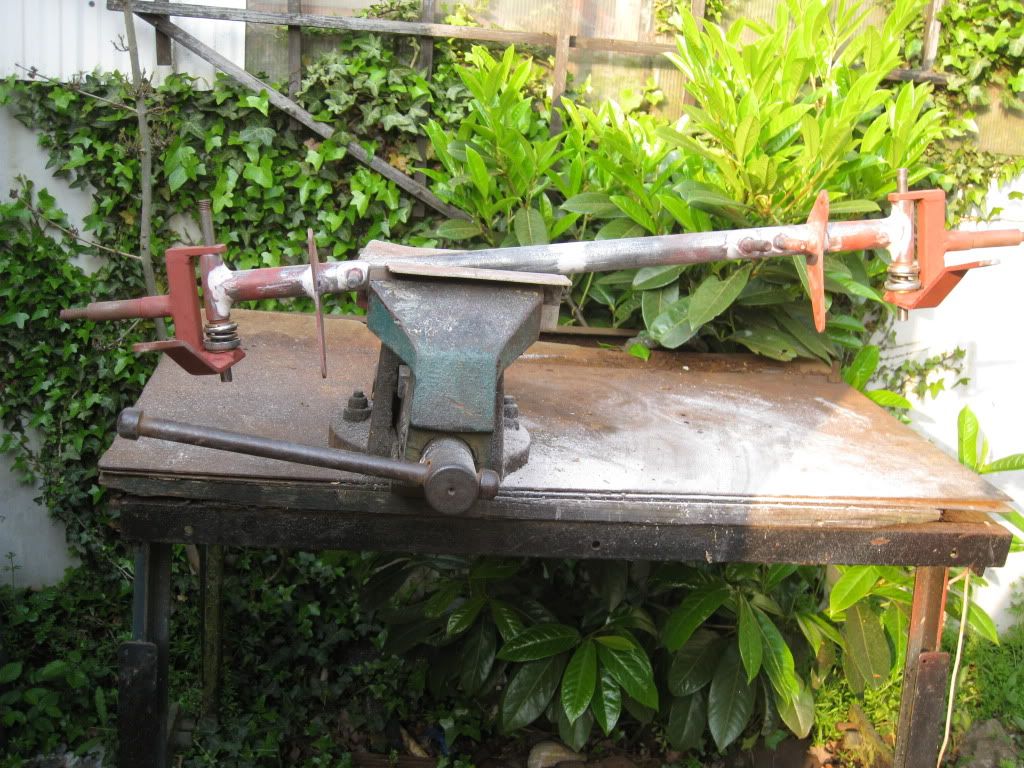
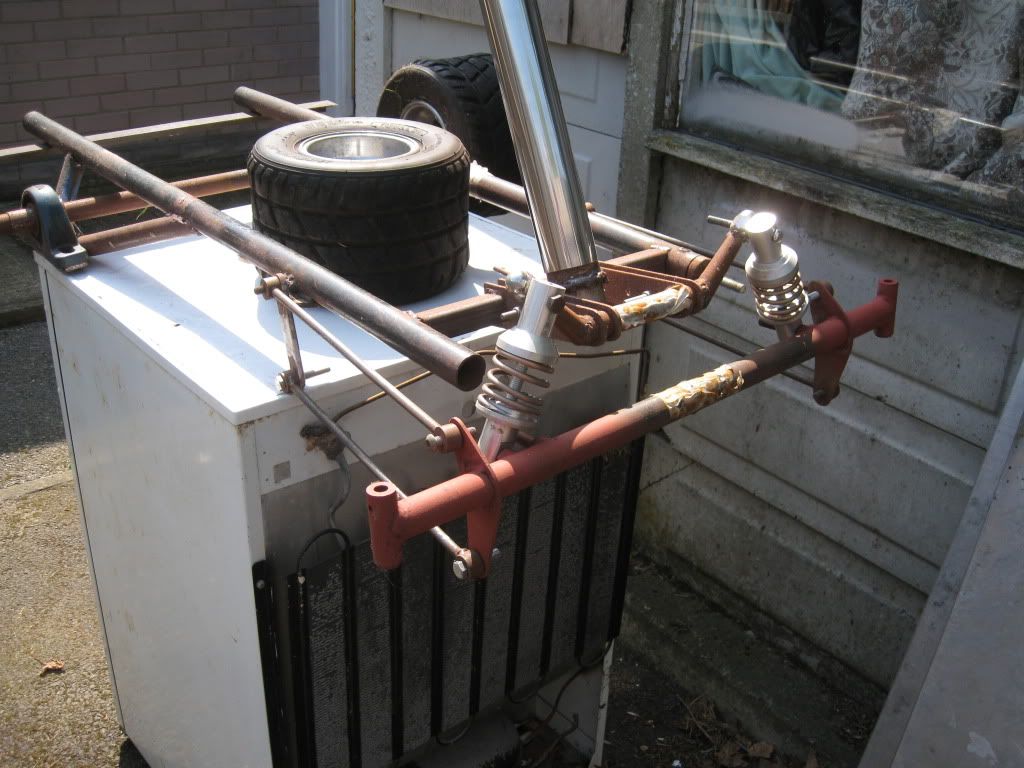
General front view
Rods little wagon project
Rods little wagon project
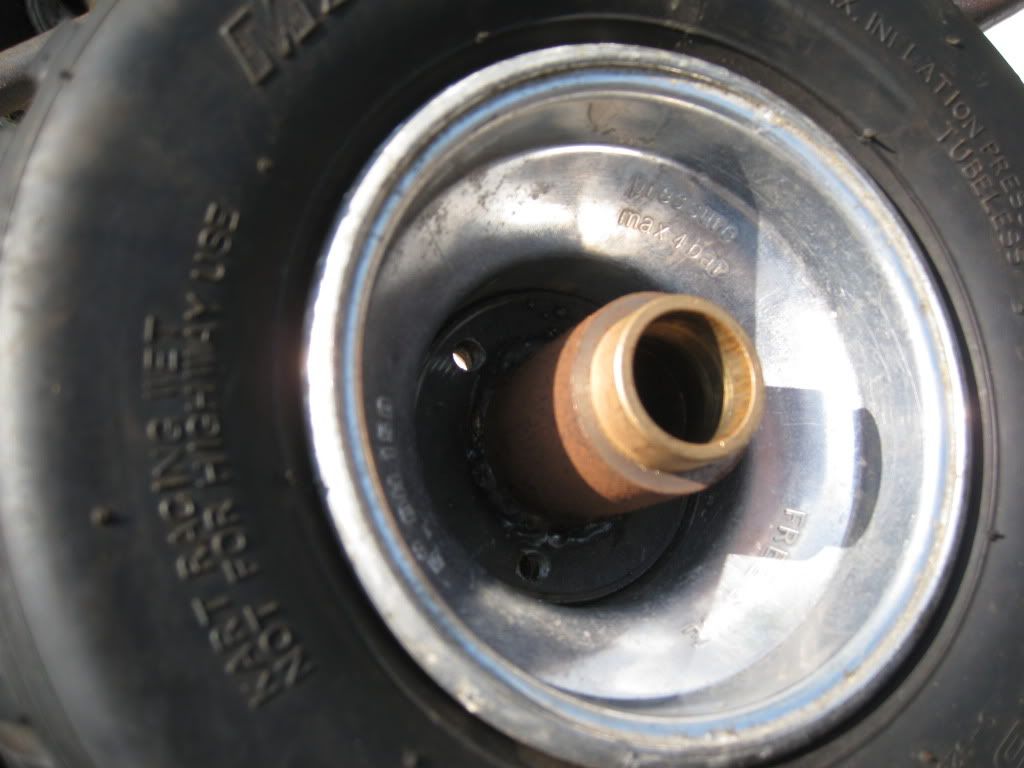
I use one wheel drive to the rear axle,this is the freewheeling hub.It creates a 'diff' effect and is easier to steer than a kart axle.Its basically a piece of tube welded to the hub plate.The tube is larger diam than the axle to accomodate a bush at each end of the tube. I
Rods little wagon project
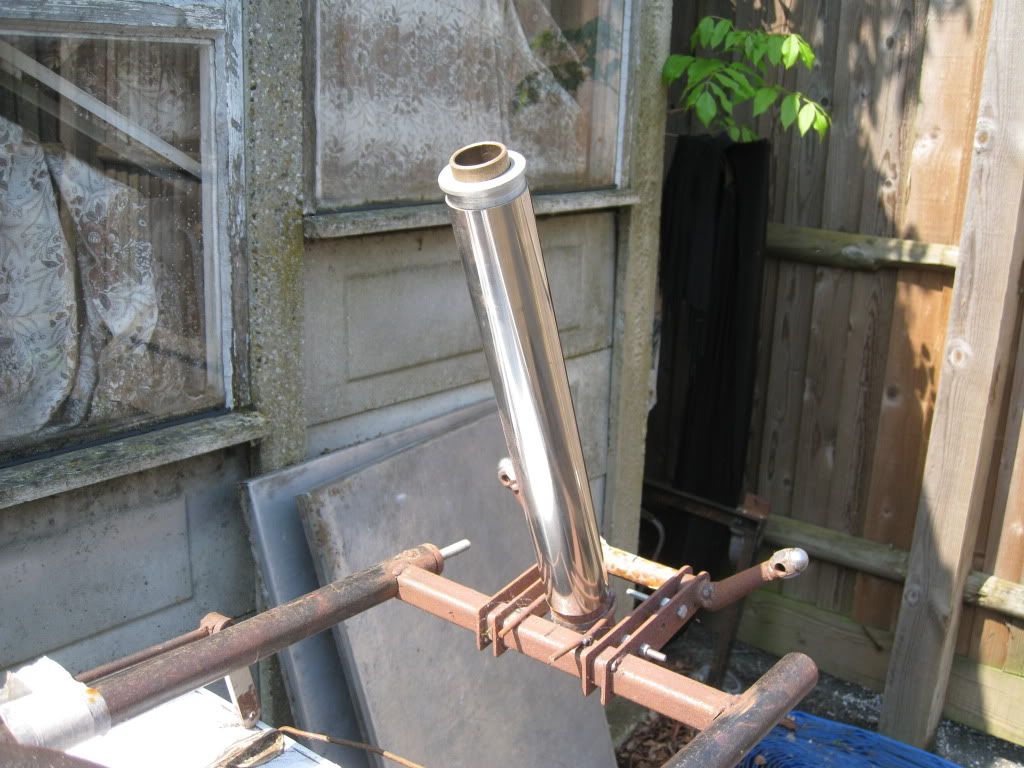
Steering column outer tube
Rods little wagon project
Rods little wagon project
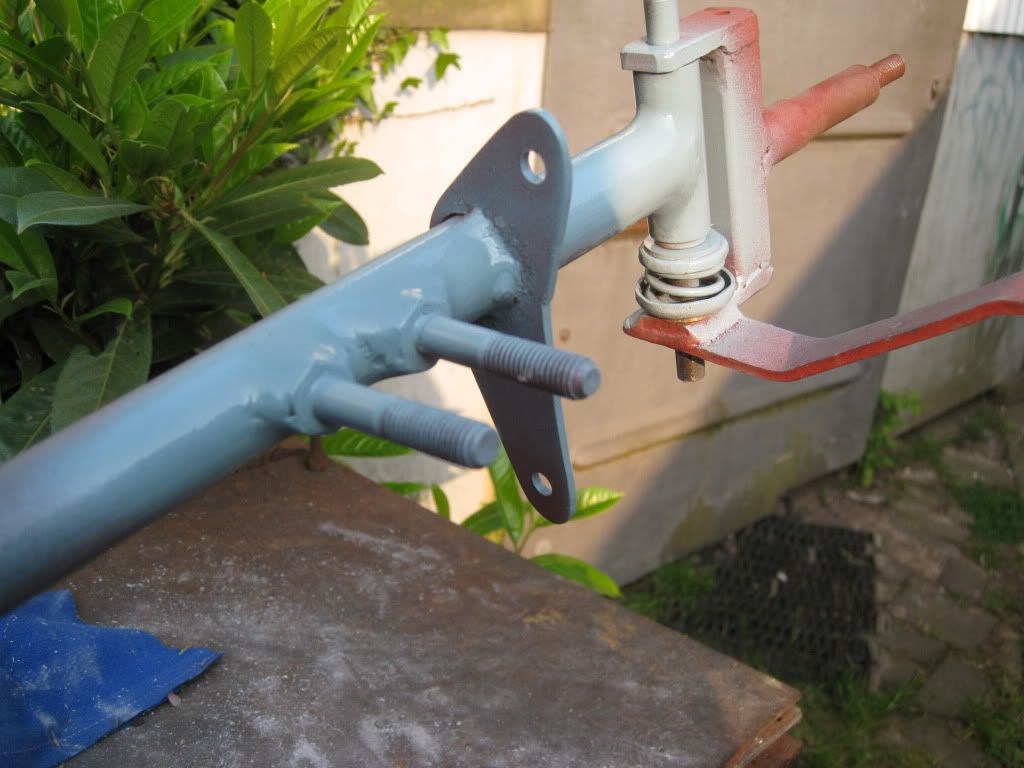
This shows the downward facing hole to allow for oiling at a later date! The king pin just runs in the tube metal to metal. Ive used this method on several of these wagons with hardly any wear after a couple of years. I dont bother with ackerman angles etc,as the speeds are so slow and it doesnt warrant all the setting up.
Rods little wagon project
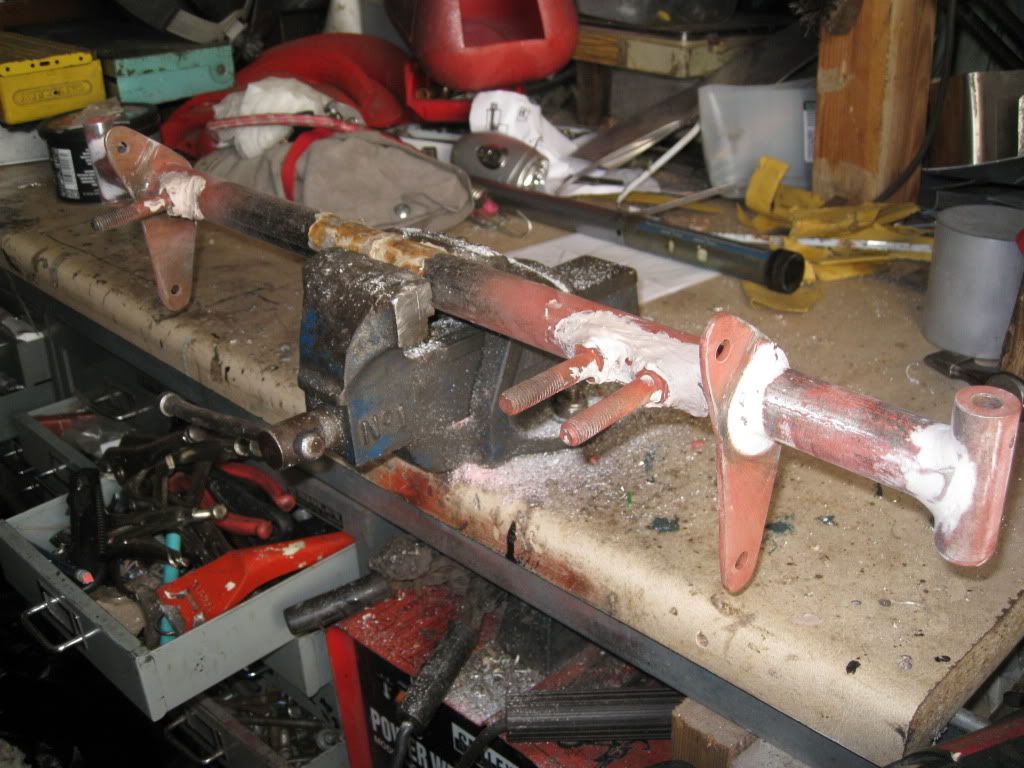
Theres a lot of building hours in the front axle and steering.Hence why Ive shown the pics of it ,cos it seems to be the main thing that people cant work out ,and therefore give up after a while. It would be easier to get a complete kart front axle.


