Someone linked to another forum where I had this guide posted, and I thought it'd be a good idea to stick it up here for you all. Apparently you use the VW brake calipers on the rear axle of trikes, so here's the process from start to finish. Unfortunately, the forum software here resizes the pics and they're not quite as detailed as other forums, but can't be helped I'm afraid.
This was actually done on a Seat Altea, which is based on the Golf Mk5 platform so the setup will no doubt be the same as the Golf-Jetta Mk5. However, it does differ somewhat from the Mk4 (which is what the conversion guide on here details) but the differences are not going to spoil it in the big picture. The main difference is that the Mk4 calipers don't just press back in like the Mk5 does, they
do need to be twisted and pushed at the same time.
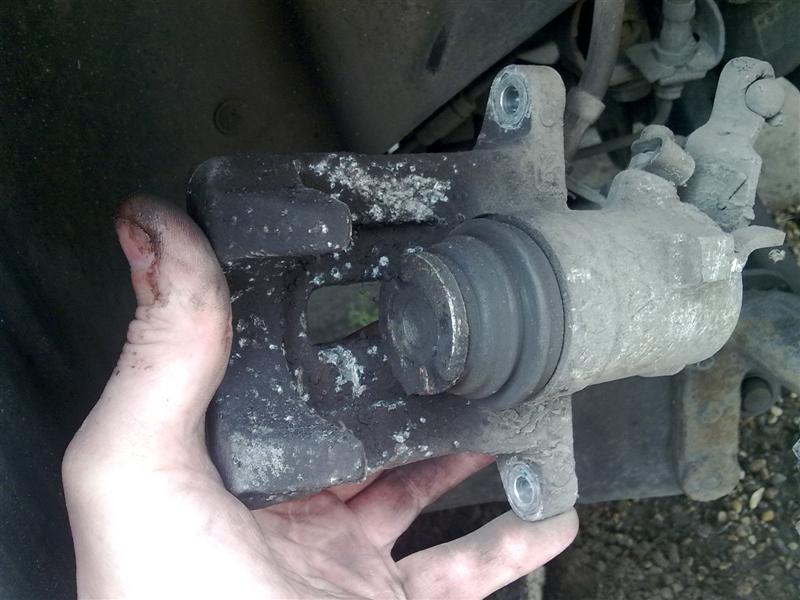
This is a picture of the internals of the Mk4 caliper...

Rear caliper/pad replacement - VW Golf.
...and the inside of the piston...

This is from a year 2003 vehicle, caliper part number 1J0 615 423 G. The piston has been removed to show the wind out mechanism. The corresponding coarse thread can be seen inside the piston in the second pic.
Given that the piston rides out of the caliper on the clearly visible screw thread, it's not earthly possible to push said piston back down the screw thread with force. Any attempt to do so would just knacker the mechanism and strip the threads from one or the other component parts. Try it with a nut & bolt, and as much force as you choose. Use a hammer if you think you can manage it. It just isn't possible. So it needs to be turned at the same time.
So once you see how it all works inside you can understand how things happen. Now, onto the rest of the guide. I'll leave the guide more or less complete, so if parts aren't relevant, don't worry.
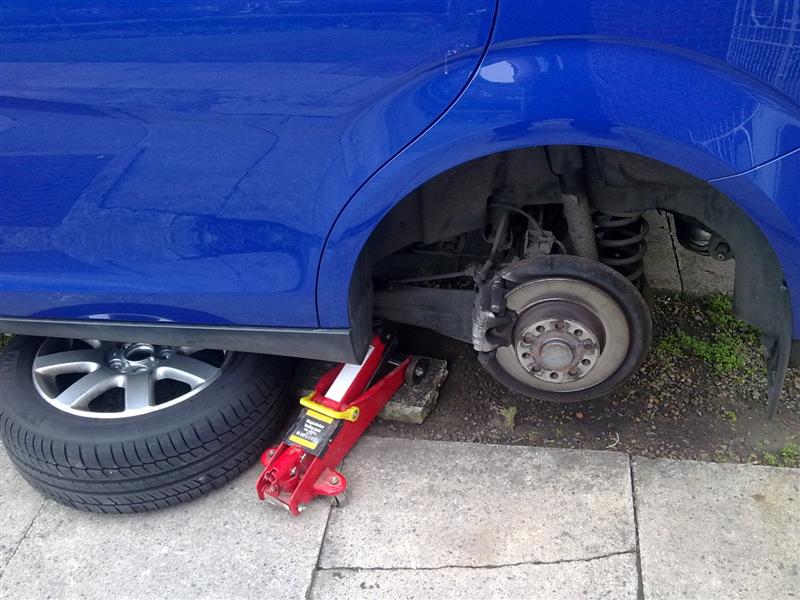
So, first up, jack the car and remove the rear wheel. If you need help with this part then stop reading now and take your car to a garage. Someone else borrowed my axle stands and good jack last week so I'm using my small jack and an improvised axle stand.
Rear caliper/pad replacement - VW Golf.
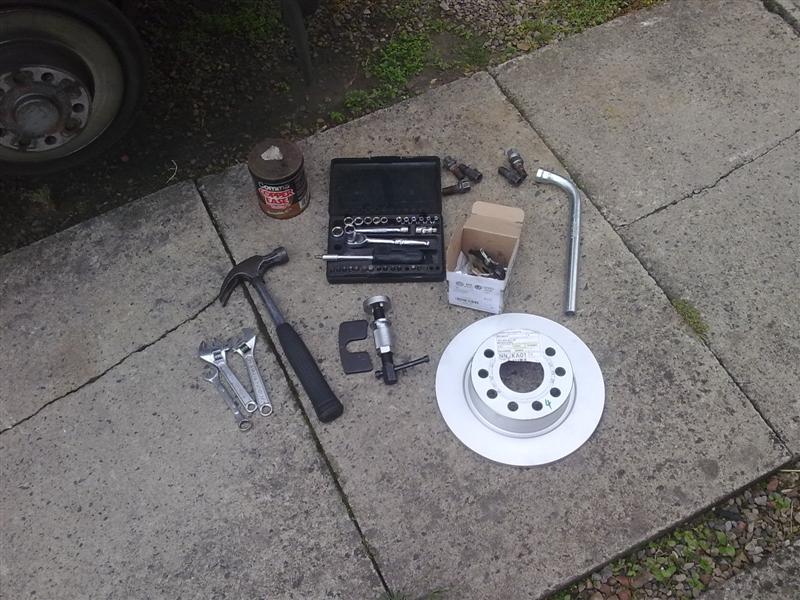
The basics...
Rear caliper/pad replacement - VW Golf.
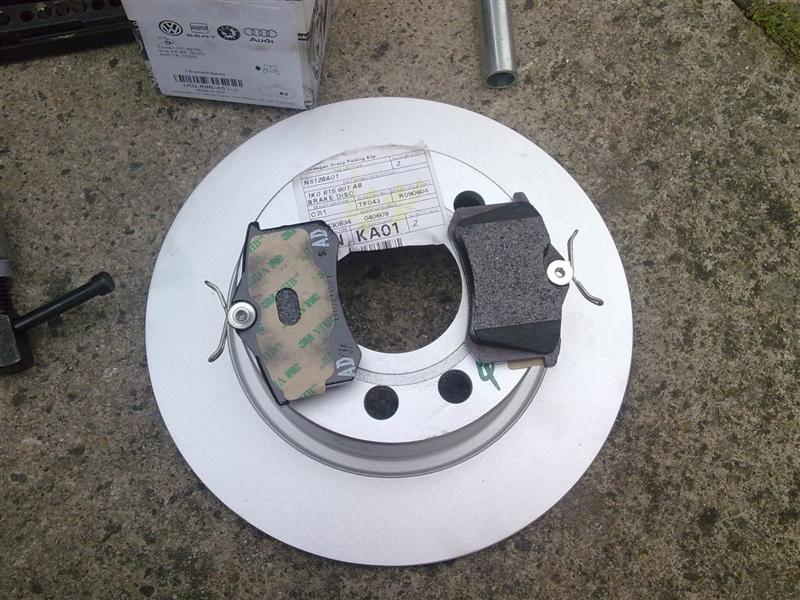
The new pads & disc...
Rear caliper/pad replacement - VW Golf.
And the old ones. These are just about as far as I dare go, but still 20k miles since the dealers told me they were shot and needed replacing.
Rear caliper/pad replacement - VW Golf.
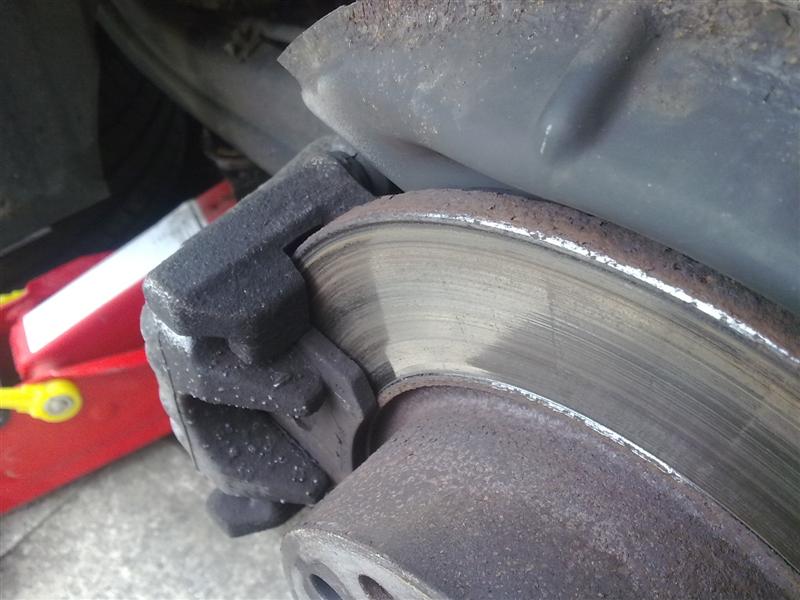
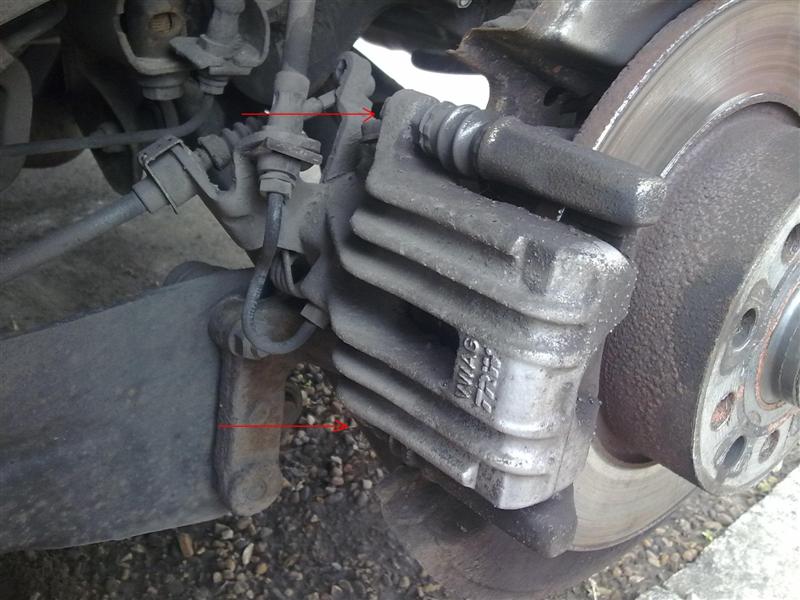
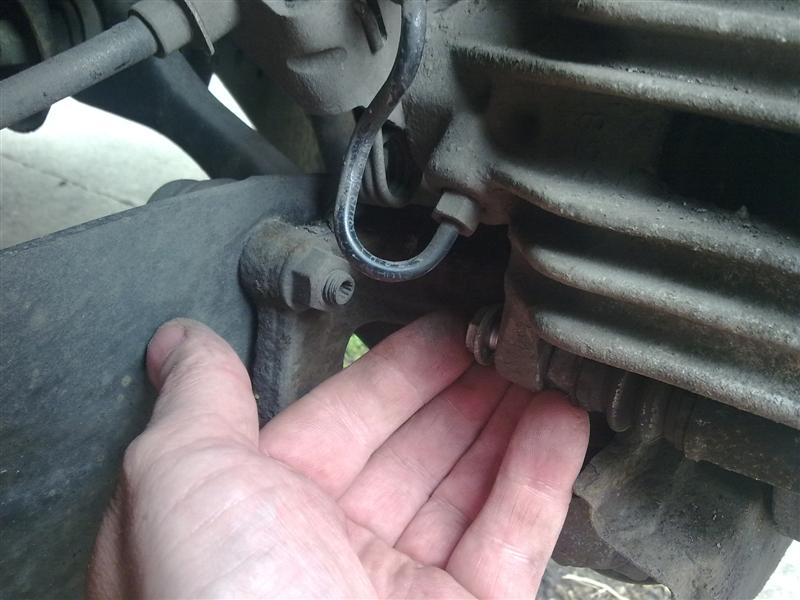
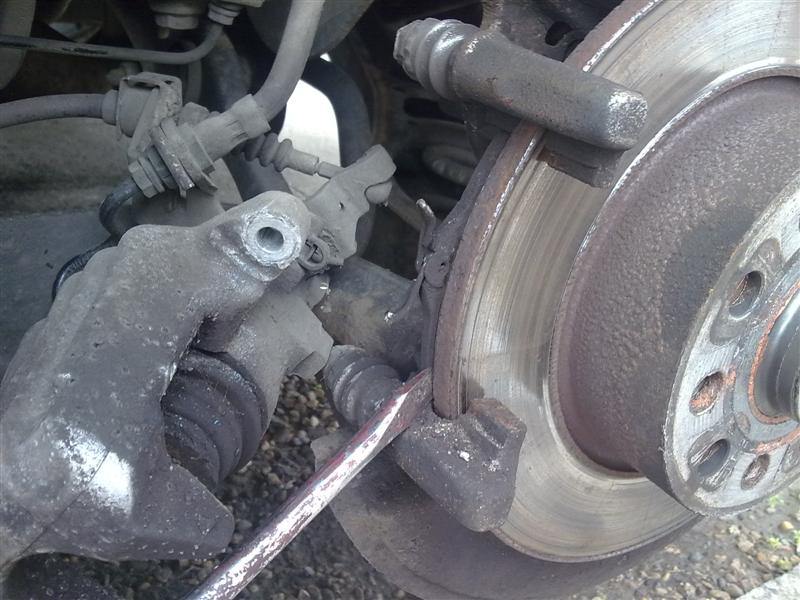
The caliper, and a couple of arrows pointing to the 2 bolts you need to undo.
Rear caliper/pad replacement - VW Golf.
You need a 13mm spanner to undo the carrier bolts, and they're tight. I used an old spanner and tapped it with a hammer to loosen. Standard thread so they just come off the same way as any old bolt.
Rear caliper/pad replacement - VW Golf.
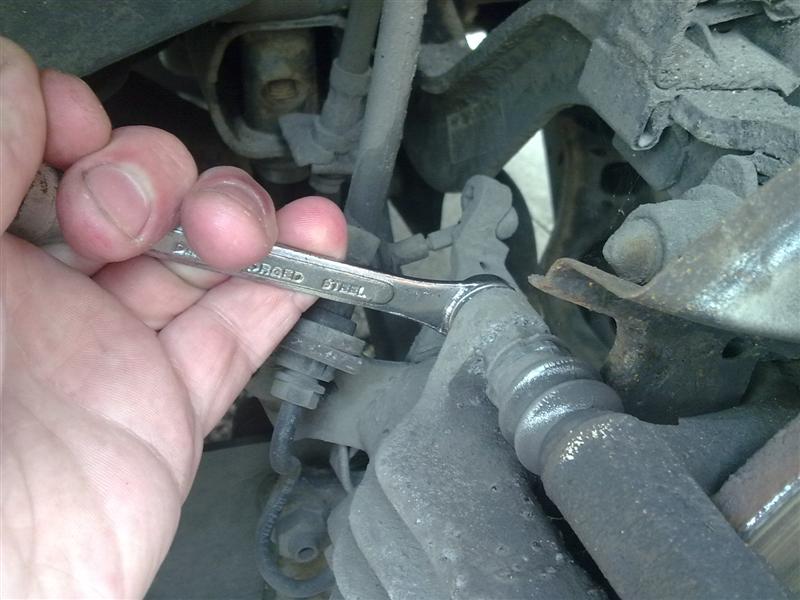
Then when you've got it shifted you need a second spanner (14mm this time) as shown to hold the guide pin and stop it turning. I've lost my 14mm, so had to use a rough arsed adjustable.

Rear caliper/pad replacement - VW Golf.
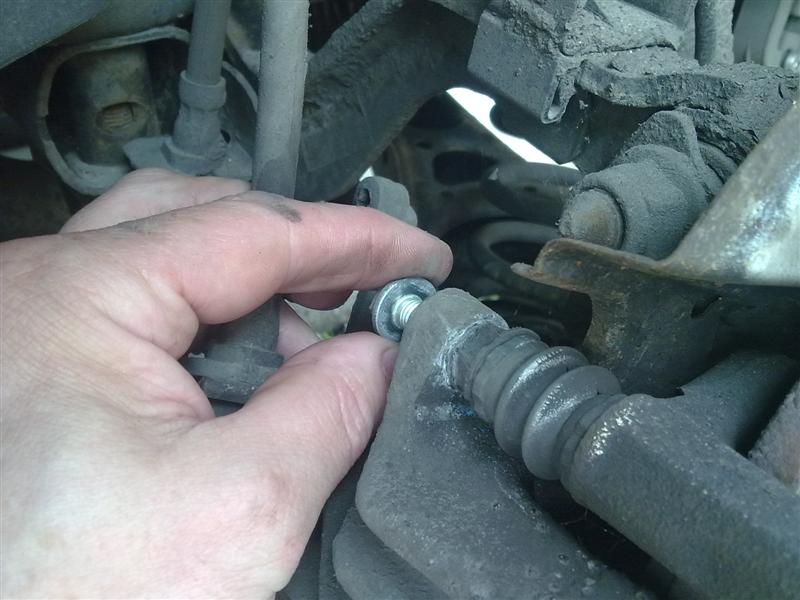
Once you've got it loosened, the bolt pulls out.
Rear caliper/pad replacement - VW Golf.
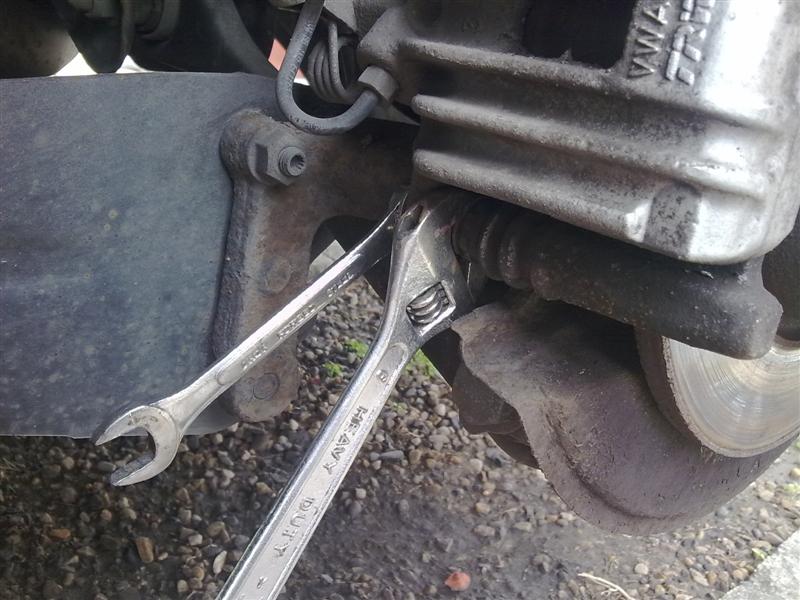
Then the same procedure on the bottom carrier bolt. Again, tapping the spanner to loosen it.

Rear caliper/pad replacement - VW Golf.
Then the second spanner to hold the guide pin again.
Rear caliper/pad replacement - VW Golf.
And the bolt pulls out.
Rear caliper/pad replacement - VW Golf.
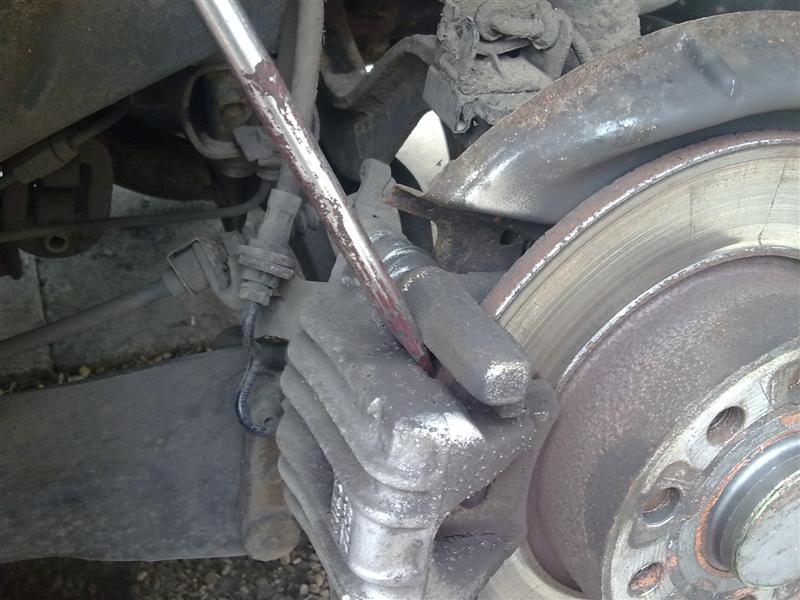
Then a large screwdriver to lever the caliper away from the carrier and disc.
Rear caliper/pad replacement - VW Golf.

Rear caliper/pad replacement - VW Golf.

Rear caliper/pad replacement - VW Golf.
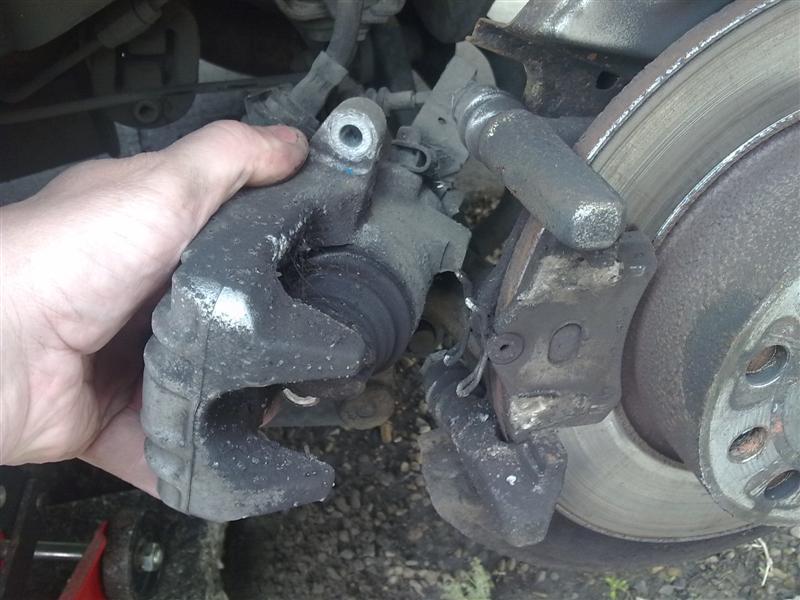
And there's the caliper free of the carrier.
Rear caliper/pad replacement - VW Golf.
Remove the old pads...
Rear caliper/pad replacement - VW Golf.
Rear caliper/pad replacement - VW Golf.
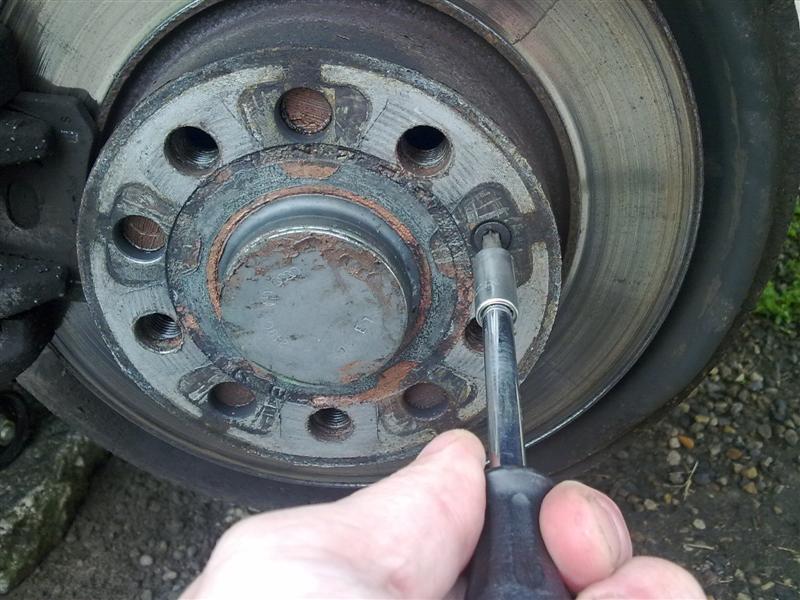
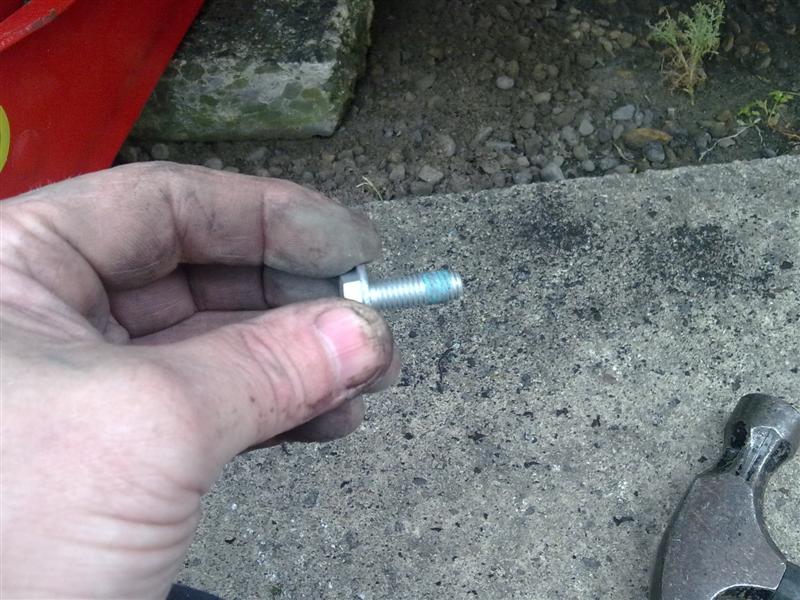
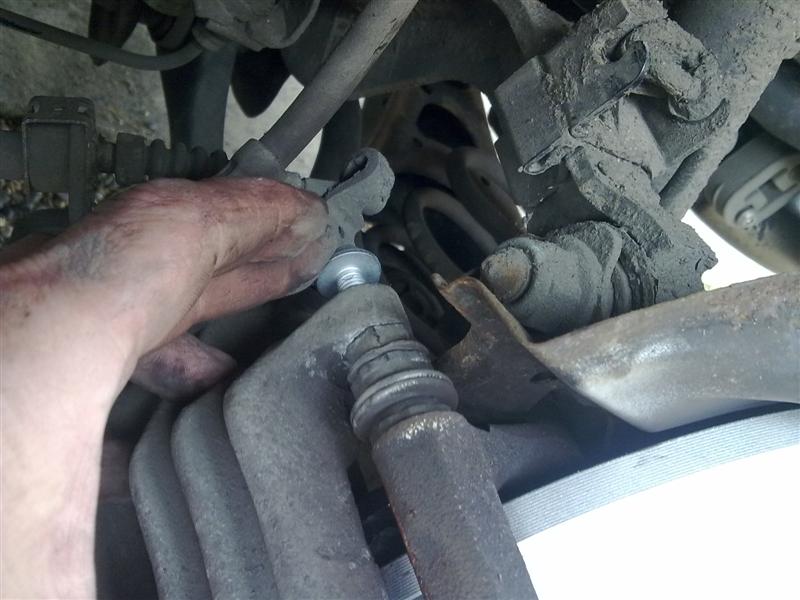
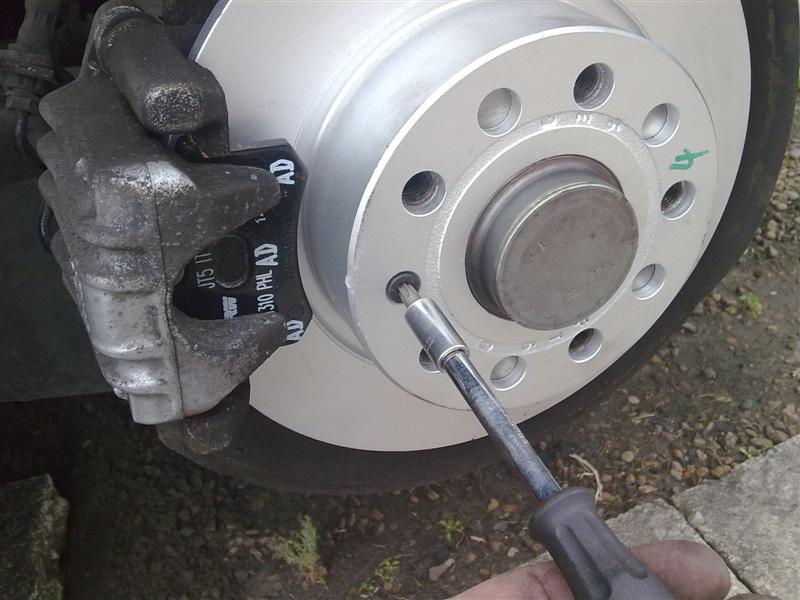
And remove the single Torx screw which locates the disc in position on the hub.
Rear caliper/pad replacement - VW Golf.
A sharp tap with a hammer was all mine needed to loosen the disc.
Rear caliper/pad replacement - VW Golf.
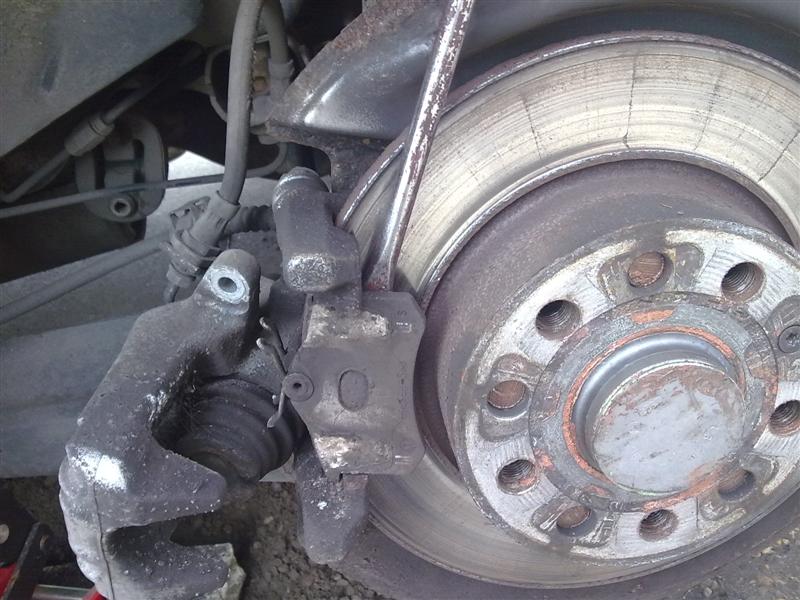
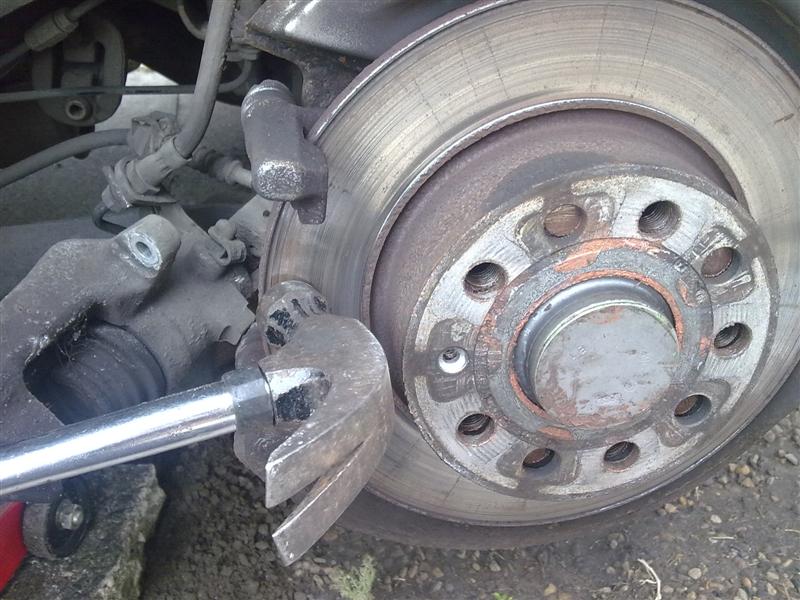
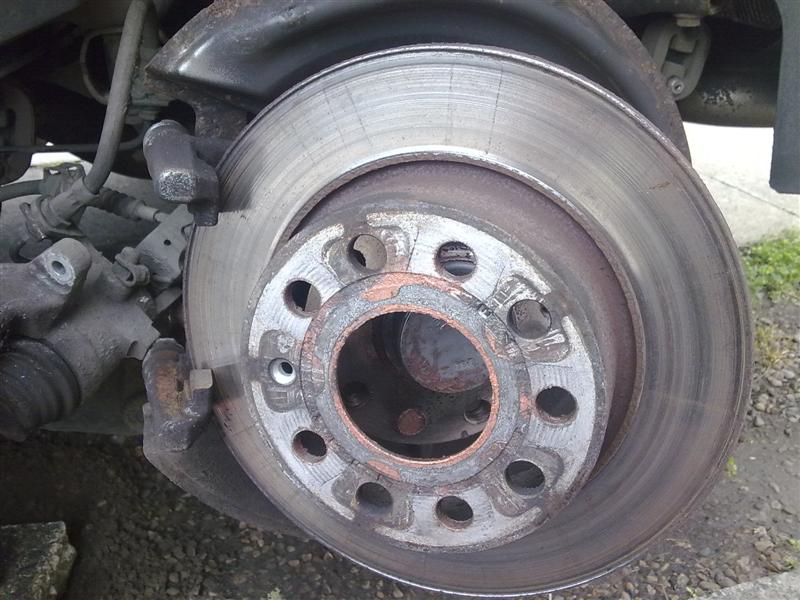
Then the disc can be removed by sliding it out past the carrier.
Rear caliper/pad replacement - VW Golf.
Clean any copper grease from the hub assembly, and scrape clean the area where the pads sit, so that the new ones fit nicely. Copper grease on the hub, and fit the new disc in place.

Rear caliper/pad replacement - VW Golf.
Now, on to the caliper. This is what you have, and the handbrake acts on the rear caliper so it's a little more complicated than a standard front caliper with no handbrake. But no problem.
Rear caliper/pad replacement - VW Golf.
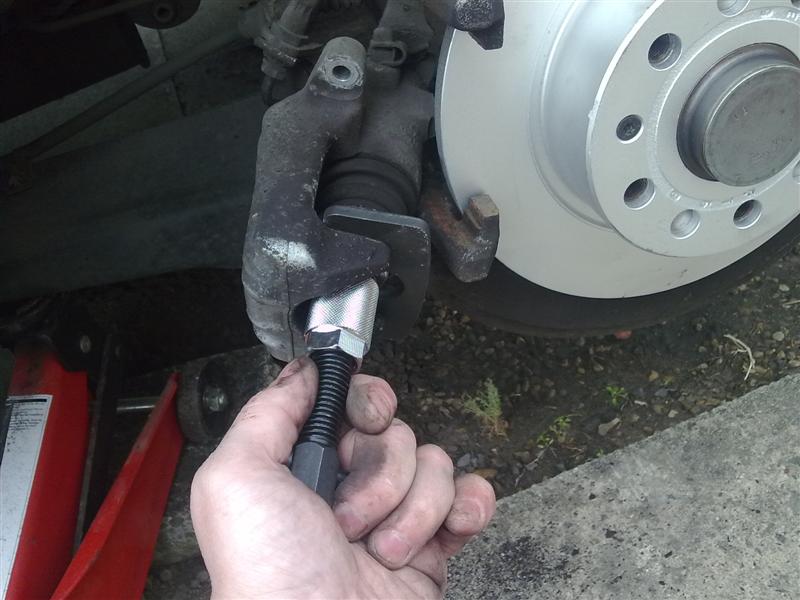
All you need is one of these.
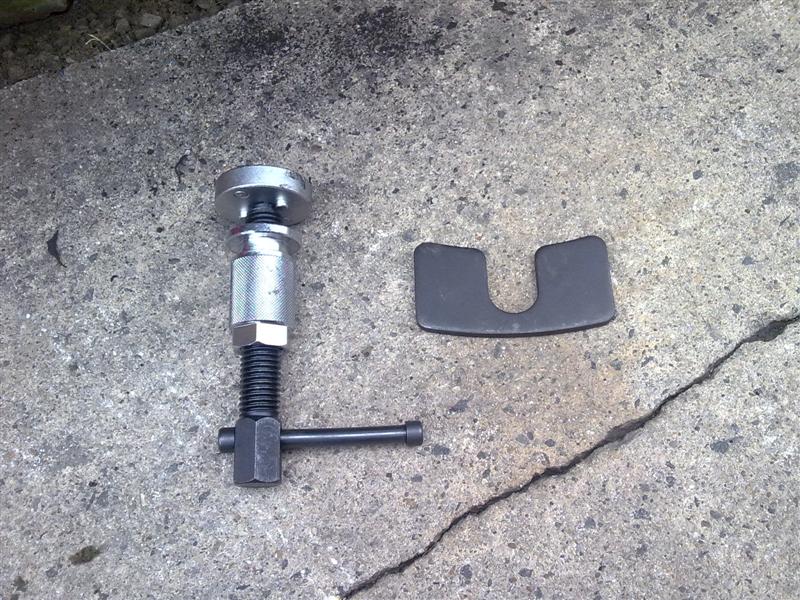
Rear caliper/pad replacement - VW Golf.
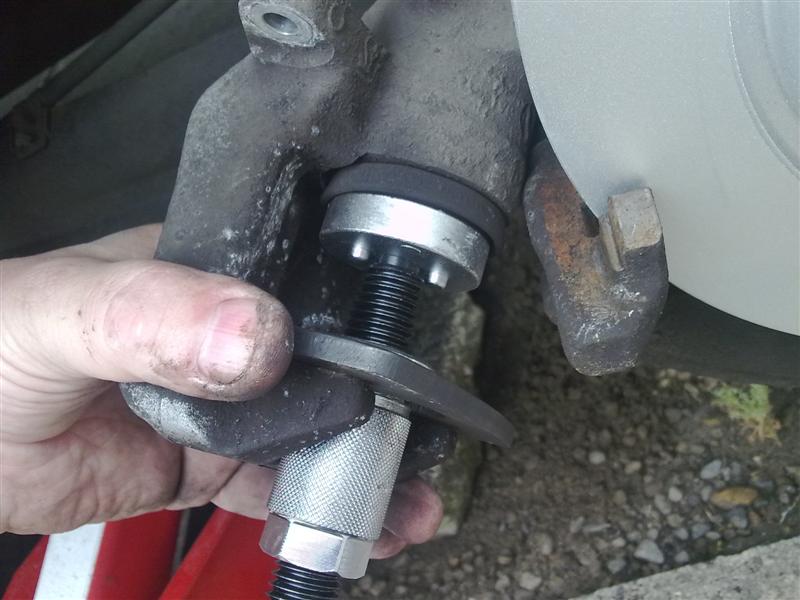
And it fits in here like this. Make sure you locate the two lugs on the faceplate into the two recesses in the piston face.
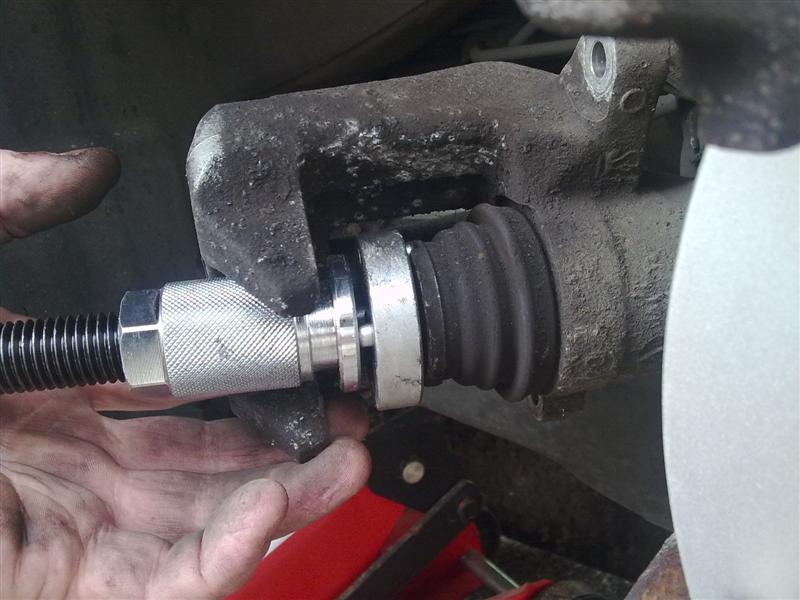
Rear caliper/pad replacement - VW Golf.
Then fit the plate as shown.
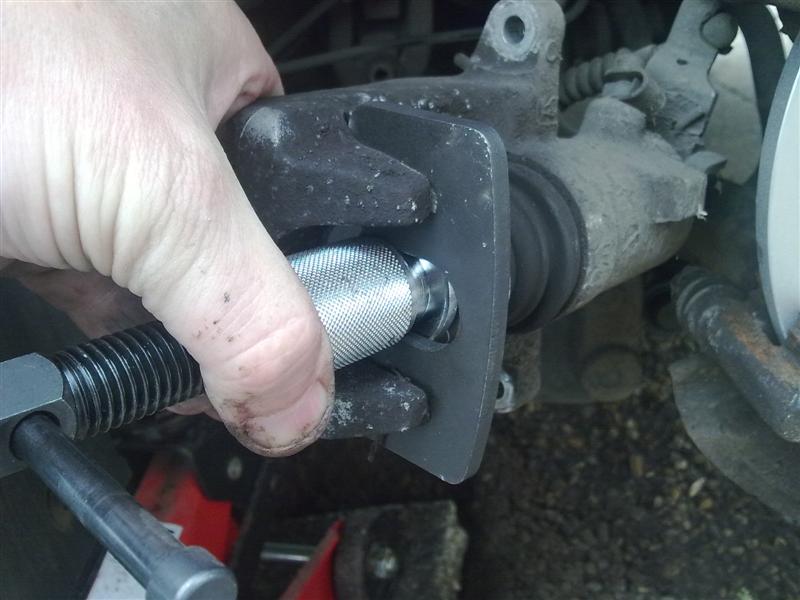
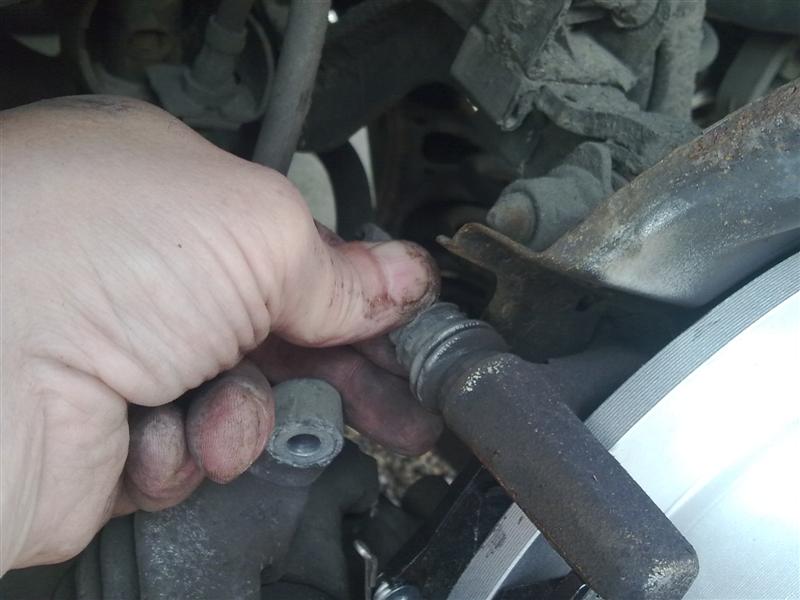
All you need to do now is wind the handle slowly to push the piston back into the caliper. There's been some confusion over the caliper/piston assembly, and whether or not the piston needs to be rotated or just pushed back into place. Well, it just pushes back in but the piston face turns as you do so. I suppose you could use a G clamp if you wanted to, but the correct tool locates into the piston face and as such makes sure that you don't force the piston off centre and damage the seals. For £21 from Halfords, the correct tool is a godsend in my opinion even if you only use it once in a blue moon. If you twist the piston using a home made tool then it'll cost you a lot more to repair than £21 to do the job properly.
Also you need to understand that you're pushing brake fluid back up the system. So you can either undo the bleed nipple and discharge the fluid to waste (into a bottle, not just onto the drive, eh?) or loosen the reservoir cap slightly and allow the fluid to return to the reservoir. Wind the handle slowly to allow the fluid to move without building up too much pressure.
Rear caliper/pad replacement - VW Golf.
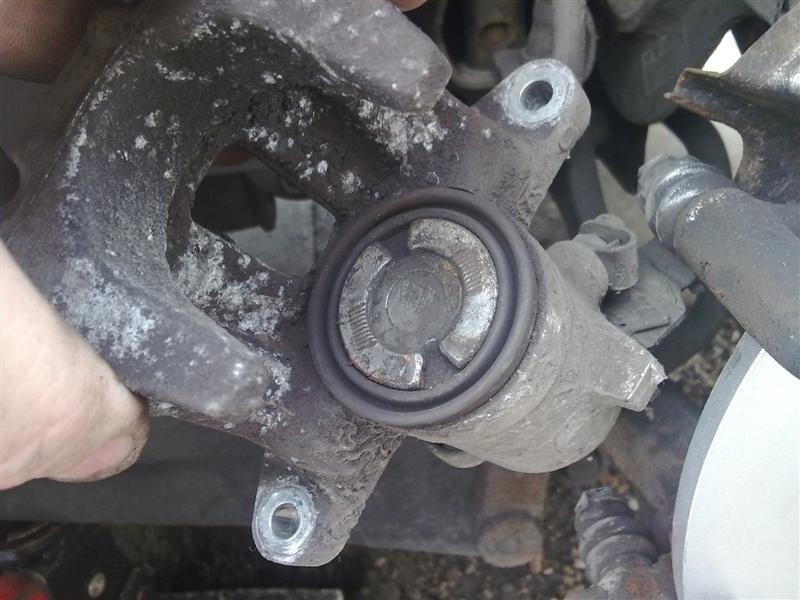
There it is, nearly all the way back in.
Rear caliper/pad replacement - VW Golf.
Now, clean the face of the piston carefully to remove all the sticky gunk on there...
Rear caliper/pad replacement - VW Golf.
And also the other side where the second pad sits...
Rear caliper/pad replacement - VW Golf.
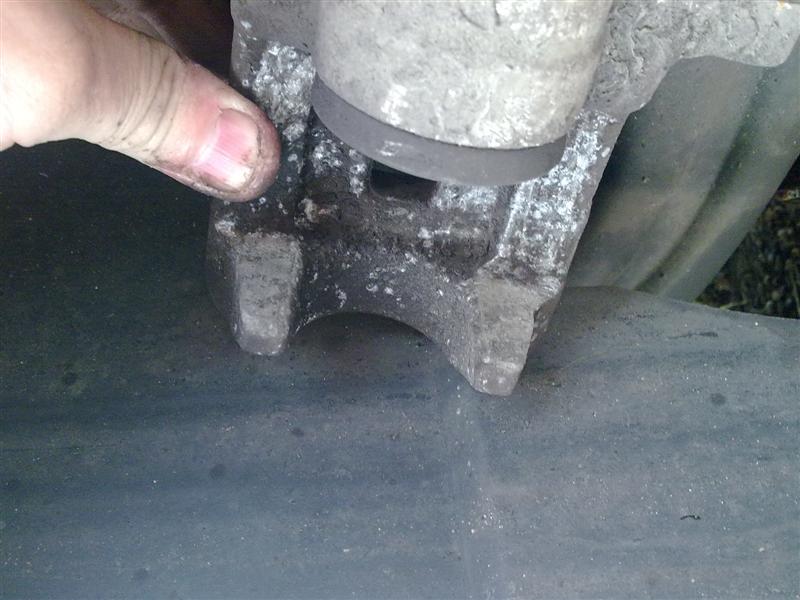
Then make sure the guide pins are free to move in and out. Mine were okay.
Rear caliper/pad replacement - VW Golf.
Then a small smearing of copper grease onto the carrier where the pads sit. On the top edge aswell (can't see it in my pic).

Rear caliper/pad replacement - VW Golf.
And fit your new pads. They just slide into place.
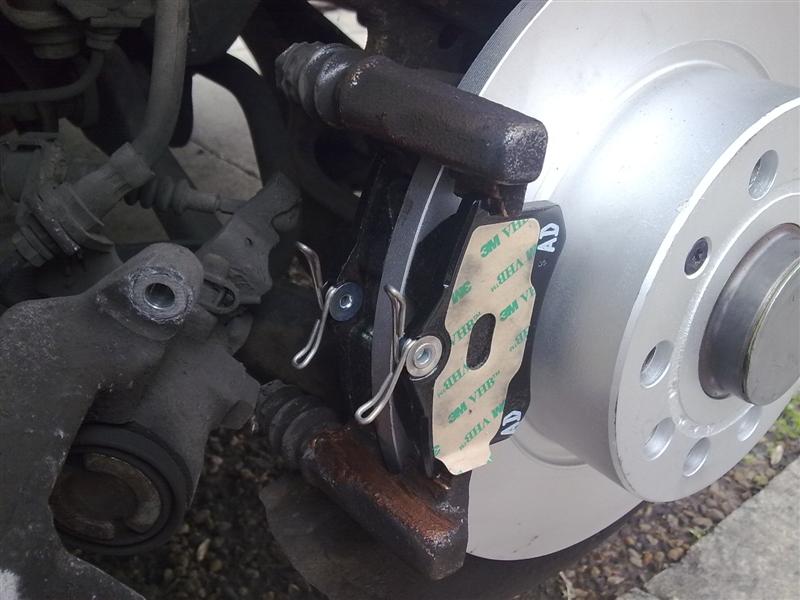
Rear caliper/pad replacement - VW Golf.
Now, remember I said buying genuine pads was a good idea? Well, they come with an adhesive pad on them. Peel the paper off as shown...
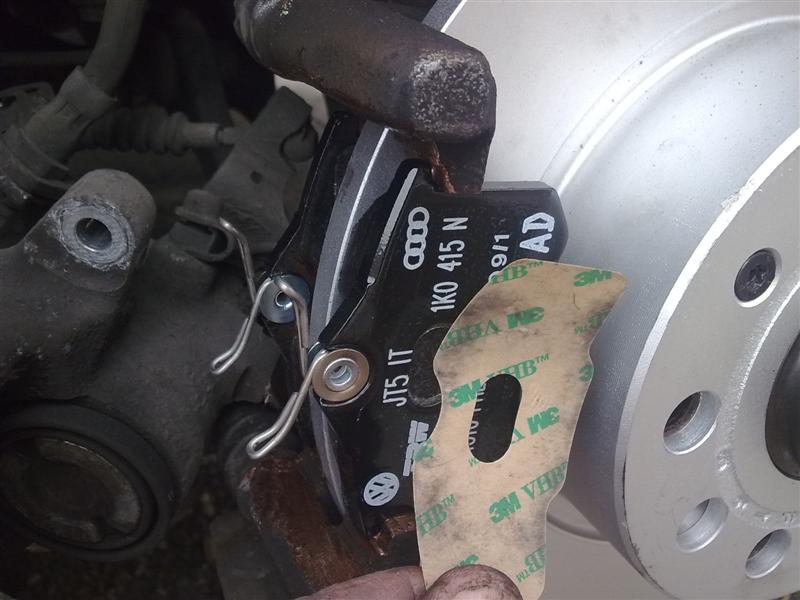
Rear caliper/pad replacement - VW Golf.
and then refit the calipers.
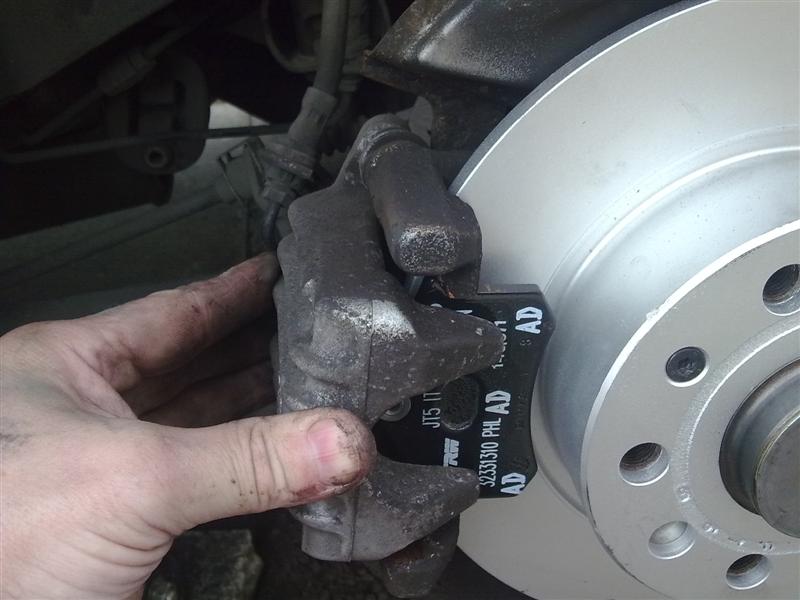
Rear caliper/pad replacement - VW Golf.
With the genuine pads you get new carrier bolts, and they have a smear of locking compound on them, so no worries about them coming loose accidentally.
Rear caliper/pad replacement - VW Golf.
So, new bolt fitted and tightened. Then the same with the bottom carrier bolt. You'll need to press the caliper into position against the spring on the new pads. I didn't have enough hands for a photo.
Rear caliper/pad replacement - VW Golf.
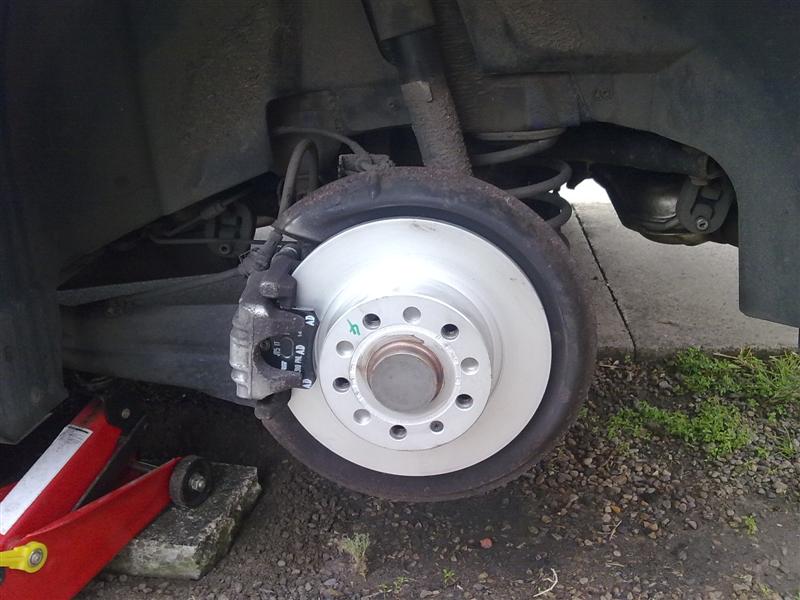
Once that's all done, tighten the Torx screw to hold the disc in place if you didn't do it previously.
Rear caliper/pad replacement - VW Golf.
And that's about it. All done except for the refitting of the wheel etc.
Rear caliper/pad replacement - VW Golf.
Finally, remember that you'll need to pump the brake pedal to wind the calipers back into position before you go hooning around to see how they work. And they'll need a bit of bedding in aswell, so take it easy til they're settled.
Sorted.
Any questions, please ask away and I'll try and answer them.


