|
Mendalot
|
 |
« Reply #15 on: November 09, 2015, 09:13:05 PM » |
|
Here's one for Stinky ........ I needed a bigger hole in the top of my fuel tank   From Paul's workshop. 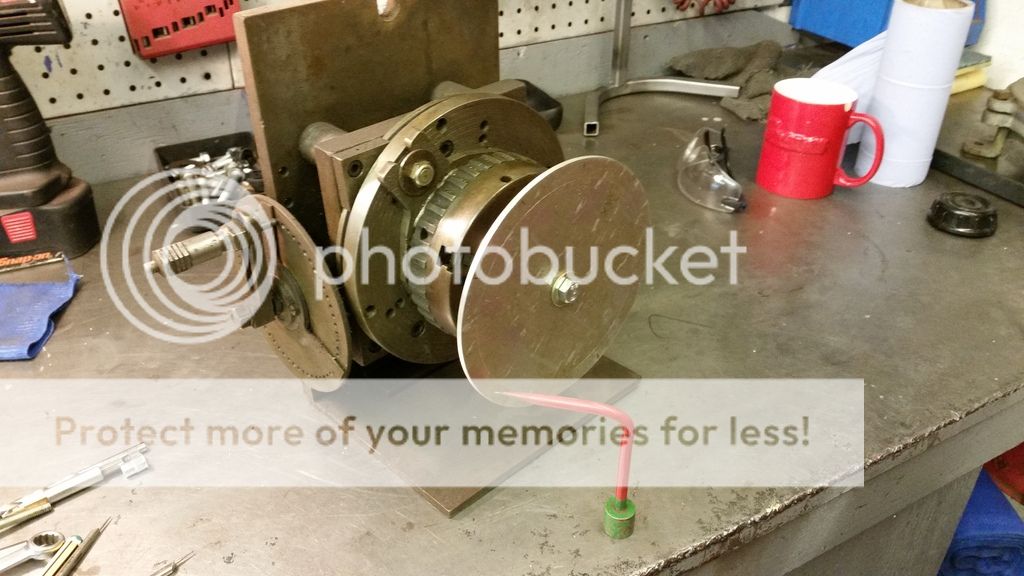 From Paul's workshop. 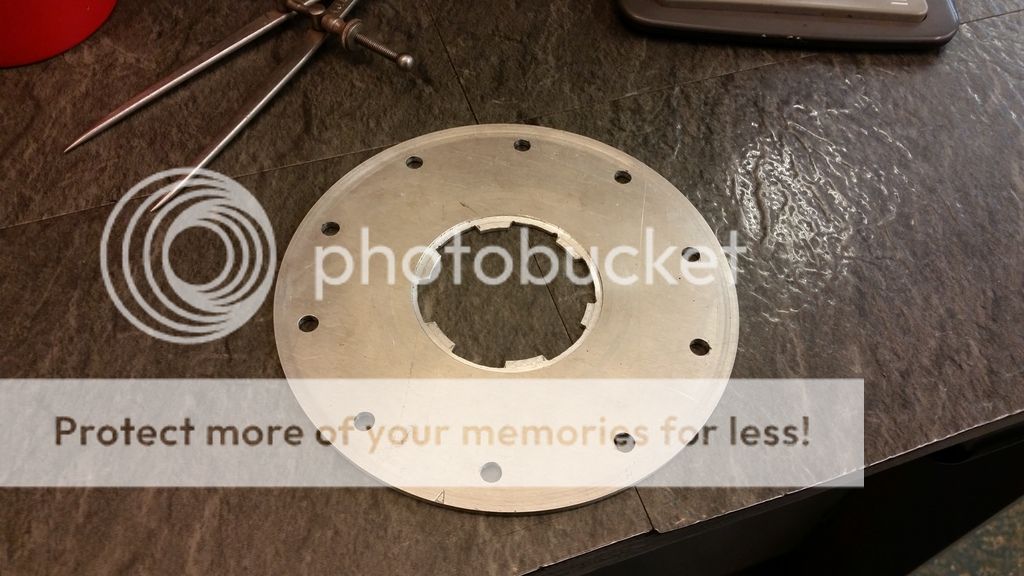 From Paul's workshop. |
|
|
|
|
 Logged
|
Precision Guesswork ......... What else do you need?
|
|
|
|
Mendalot
|
|
« Reply #16 on: November 16, 2015, 08:16:58 PM » |
|
Was never any good at school apart from in two departments, the dining room .... I could eat for Britain  and the metalwork department. 40 years later and I still love making things, and am never happier, than when I can use some of the old tools I have collected over the years. For this bit of the project I obviously got to play on the lathe, but also got to have a play with the dividing head and an old set of leather hole punching pliers that are ideal for making holes in cork gaskets  The up turned thread inserts sitting on the ring that I cut out have sealer on them and are drying before being inserted. 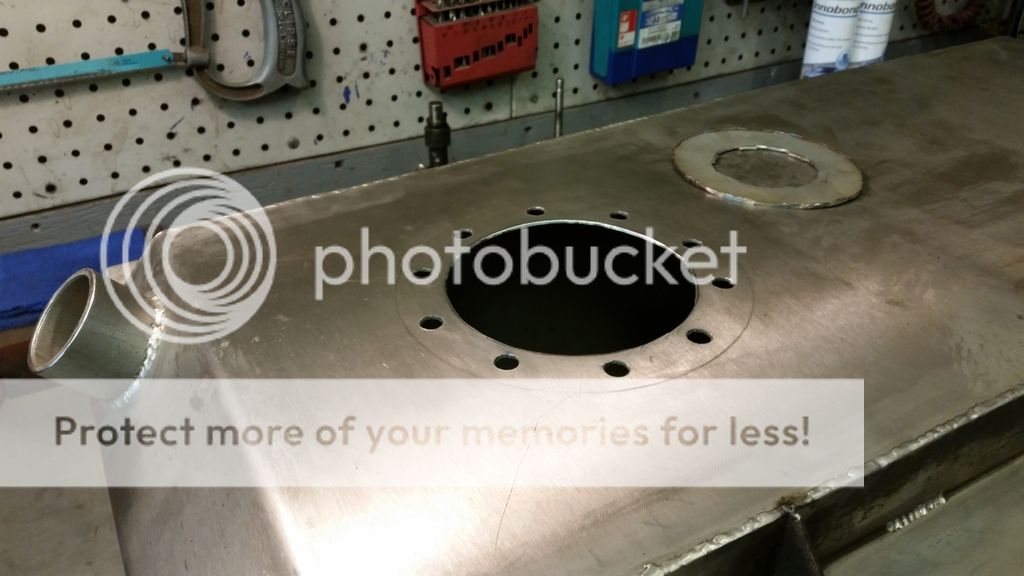 From Paul's workshop. 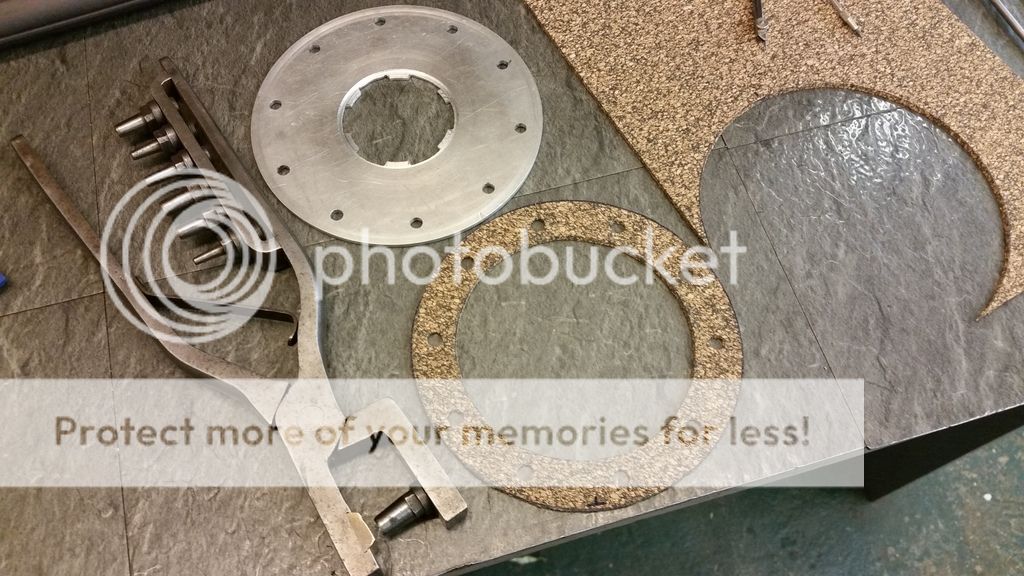 From Paul's workshop. 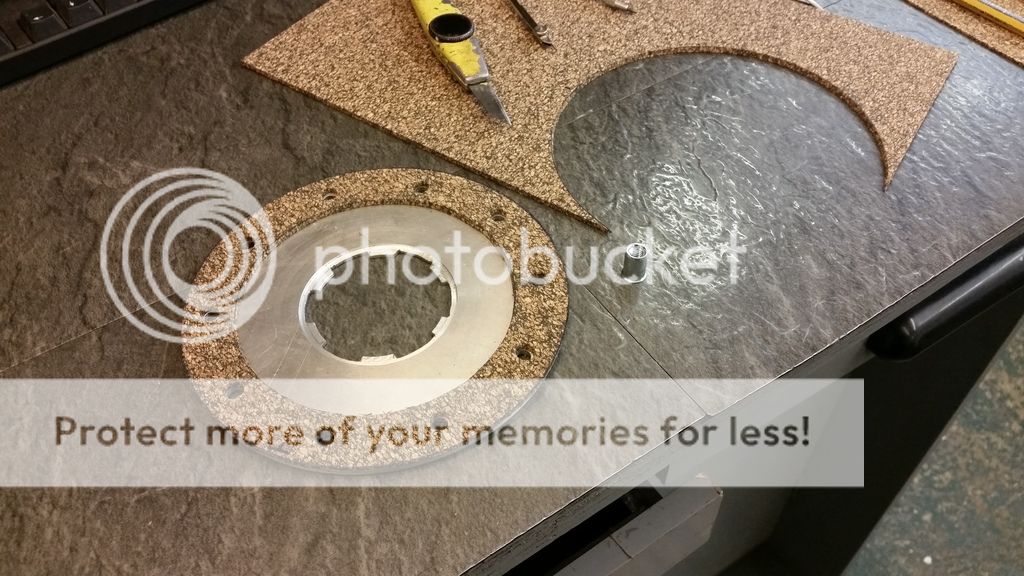 From Paul's workshop. 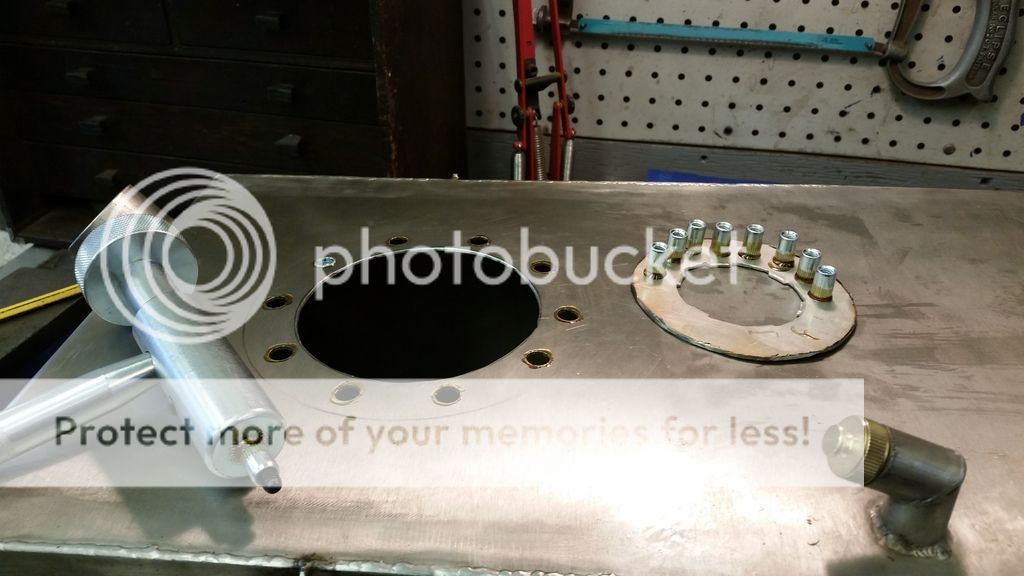 From Paul's workshop. 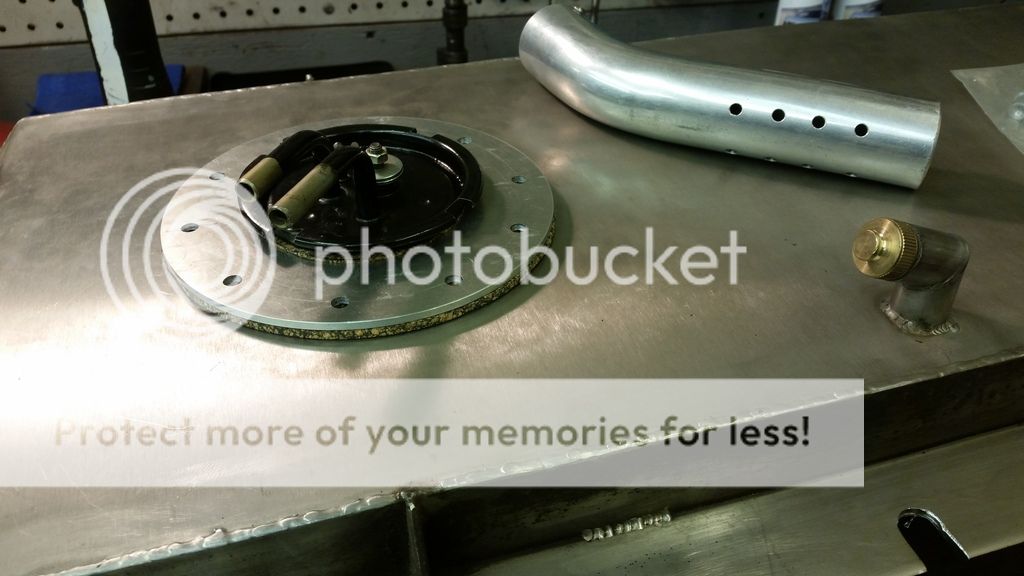 From Paul's workshop. |
|
|
|
|
Logged
|
Precision Guesswork ......... What else do you need?
|
|
|
Manky Monkey
Administrator
Hero Member

Karma: 264
Posts: 55102

|
|
« Reply #17 on: November 16, 2015, 11:10:53 PM » |
|
Nice. Is that a tool on the left in the 2nd to last photo? Don't recognise it.
|
|
|
|
|
Logged
|
On the last freedom moped out of Nowhere City.
|
|
|
|
spanners
|
|
« Reply #18 on: November 16, 2015, 11:54:52 PM » |
|
Nice. Is that a tool on the left in the 2nd to last photo? Don't recognise it.
hole punchin pliers |
|
|
|
|
Logged
|
LIVE FAST and DIE YOUNG,, past 50 AND STILL HERE NOW. WAITING. FOR. THE. GRIM. REAPER
|
|
|
Manky Monkey
Administrator
Hero Member
Karma: 264
Posts: 55102
|
|
« Reply #19 on: November 17, 2015, 12:08:28 AM » |
|
No, they're in the 2nd photo from the top Mike, (& a nice set they are too).
|
|
|
|
|
Logged
|
On the last freedom moped out of Nowhere City.
|
|
|
|
Olds
|
|
« Reply #20 on: November 17, 2015, 04:57:11 AM » |
|
That would be a riv nut tool. A very handy bit of kit.
|
|
|
|
|
Logged
|
Getting older but no wiser! Just using bigger hammers.
The answer to most problems, fire and lots of it.
|
|
|
|
Mendalot
|
|
« Reply #21 on: November 17, 2015, 07:41:00 AM » |
|
A Rivnut tool indeed. This tool is made in England and supplied by a company called Memfast ( memfast.co.uk ) This type of tool gives you more control when fitting the insert, in as much as the threaded section of the insert will remain in the centre of the hole, where as the pliers type can crimp the insert at an angle.
|
|
|
|
|
Logged
|
Precision Guesswork ......... What else do you need?
|
|
|
Manky Monkey
Administrator
Hero Member
Karma: 264
Posts: 55102
|
|
« Reply #22 on: November 17, 2015, 08:38:24 AM » |
|
Ahh, never used one.
|
|
|
|
|
Logged
|
On the last freedom moped out of Nowhere City.
|
|
|
|
spanners
|
|
« Reply #23 on: November 17, 2015, 11:59:09 PM » |
|
4th picture then ,,
|
|
|
|
|
Logged
|
LIVE FAST and DIE YOUNG,, past 50 AND STILL HERE NOW. WAITING. FOR. THE. GRIM. REAPER
|
|
|
Manky Monkey
Administrator
Hero Member
Karma: 264
Posts: 55102
|
|
« Reply #24 on: November 18, 2015, 12:33:56 AM » |
|
Yeah, 2nd from the bottom.  |
|
|
|
|
Logged
|
On the last freedom moped out of Nowhere City.
|
|
|
stinkey
Hero Member

Karma: 93
Posts: 2757
I can't stop building stuff ?,but I'm slowing down
|
|
« Reply #25 on: November 18, 2015, 06:49:41 PM » |
|
Holes n punching tools and rivnuts..heaven..
|
|
|
|
|
Logged
|
Backyard hotrodder,learnt by mistake,still learning ?
|
|
|
|
Mendalot
|
|
« Reply #26 on: December 01, 2015, 11:41:59 PM » |
|
The Pedal Box Due to the seating position on these cars, I have always thought that a floor mounted pedal box would be more comfortable to use. After looking at the various ones available on the market, and getting a shock at the prices, I decided to have a crack at making one. As with the dash scuttle, it would be easily removable as a complete unit in case of any repairs needed in the future, as working in the foot wells of these cars is not easy for a bloke of my size. I am using a tandem master cylinder from a Fiat Tipo which had the correct bore size for my brake set up along with a cable clutch for the type 9 gear box. The throttle cable was made by modifying a clutch cable from a Honda lawnmower. The return springs were from an old pedal box in the junk pile. I have made the pedal pads adjustable. The completed unit slips in from the foot well with the master cylinder and cables attached and is bolted in place with six M6 bolts. 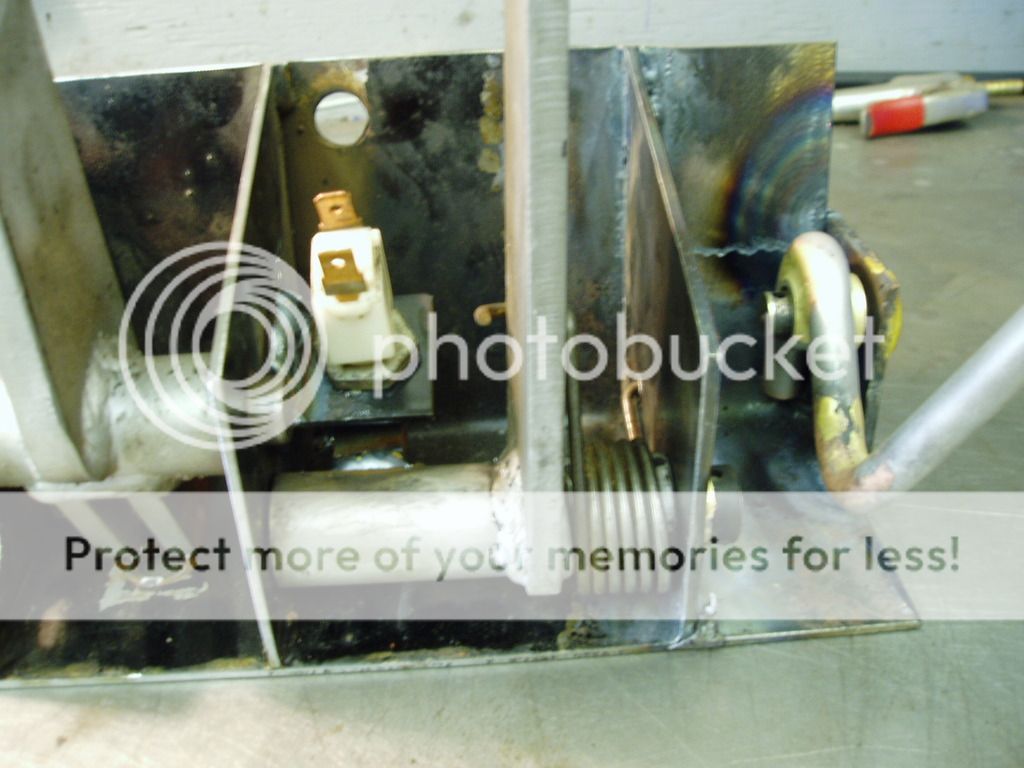 From Paul's workshop. 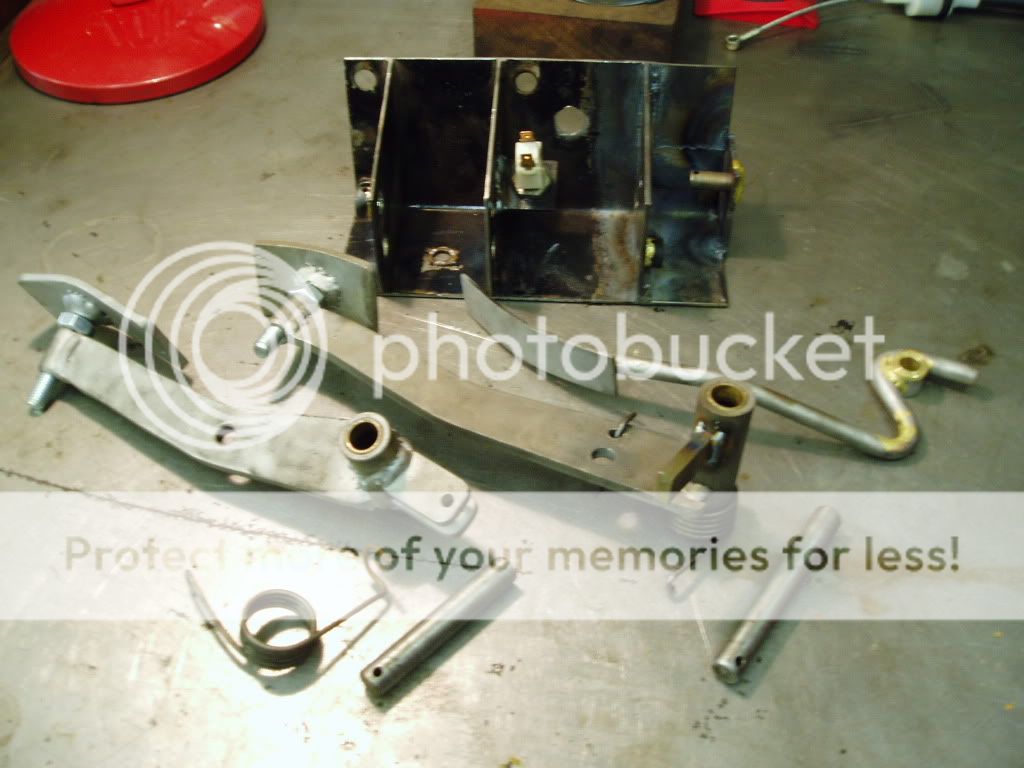 From Paul's workshop. 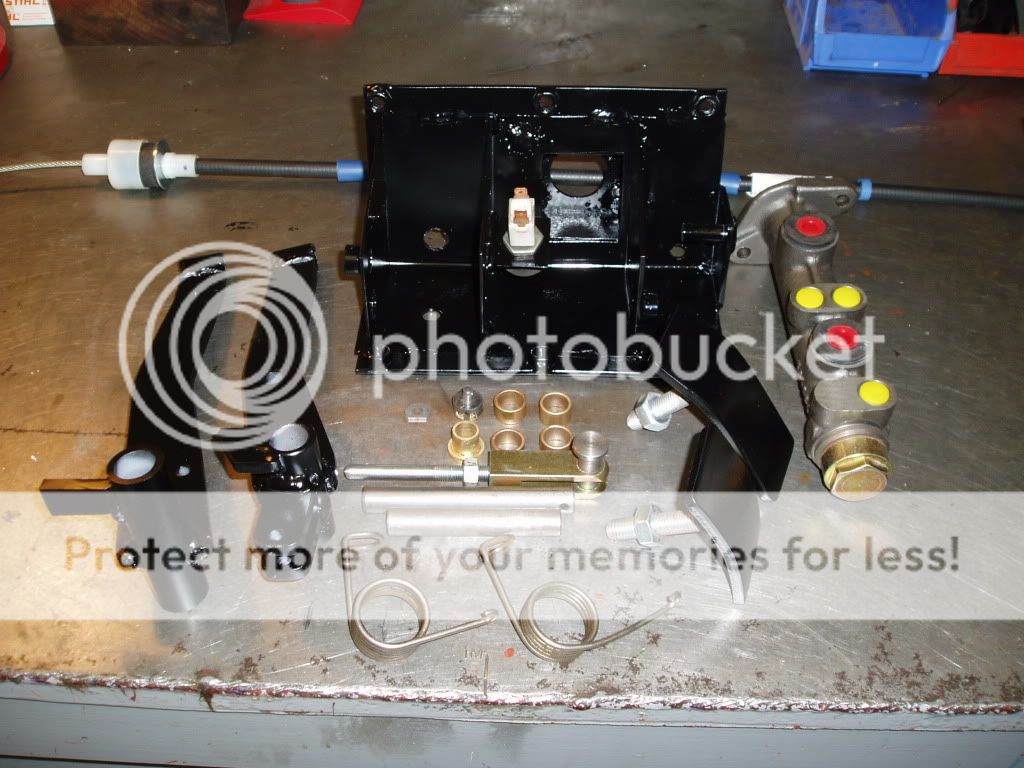 From Paul's workshop. 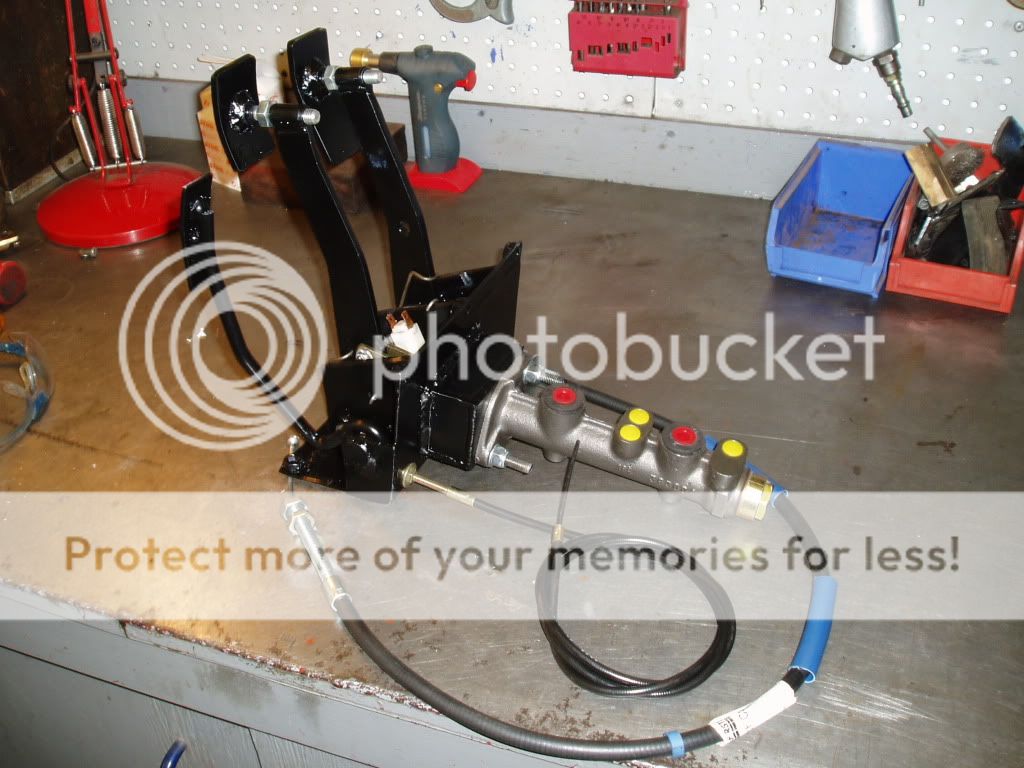 From Paul's workshop. 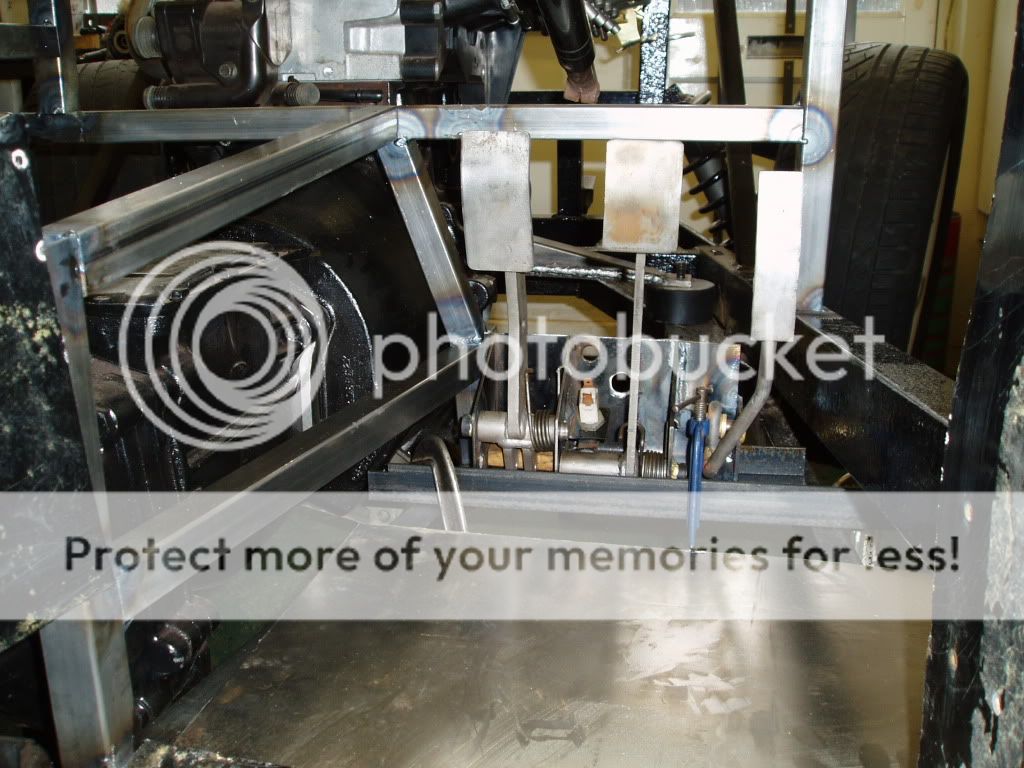 From Paul's workshop. |
|
|
|
|
Logged
|
Precision Guesswork ......... What else do you need?
|
|
|
Manky Monkey
Administrator
Hero Member
Karma: 264
Posts: 55102
|
|
« Reply #27 on: December 02, 2015, 07:11:59 PM » |
|
That's a nice set-up.
|
|
|
|
|
Logged
|
On the last freedom moped out of Nowhere City.
|
|
|
|
Olds
|
|
« Reply #28 on: December 02, 2015, 09:10:53 PM » |
|
Beautifully made sir.
Agree about the pedal action. Not completely happy with my pendulum setup, so may follow your excellent example.
|
|
|
|
|
Logged
|
Getting older but no wiser! Just using bigger hammers.
The answer to most problems, fire and lots of it.
|
|
|
|
Mendalot
|
|
« Reply #29 on: February 13, 2016, 08:40:01 PM » |
|
Finally finished my custom wiring loom and electrical installation today. Ready for MOT at the end of March 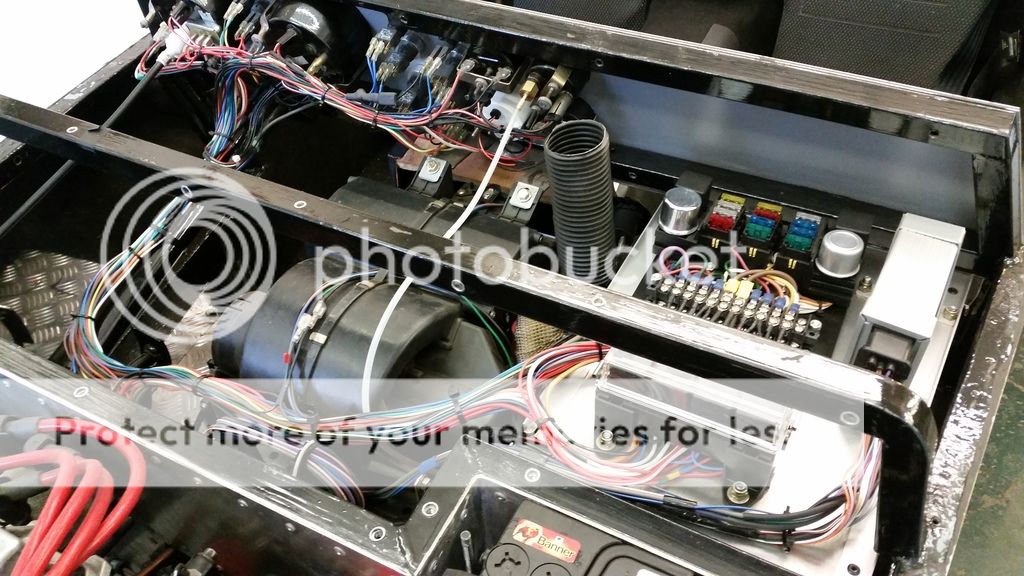 From Paul's workshop. 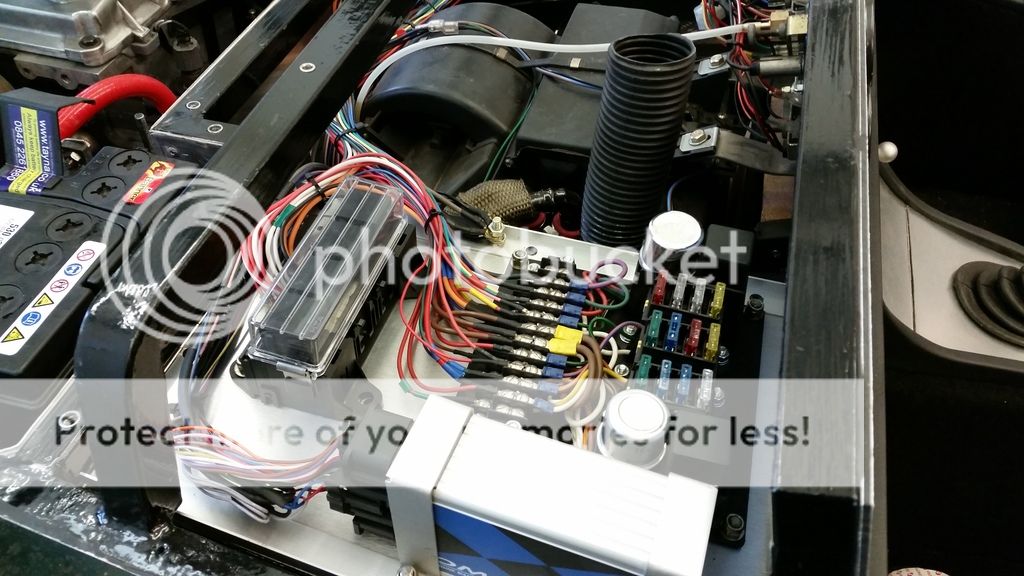 From Paul's workshop. |
|
|
|
|
Logged
|
Precision Guesswork ......... What else do you need?
|
|
|
|


