|
Mendalot
|
 |
« on: October 24, 2015, 06:46:08 PM » |
|
Been feeling guilty about not contributing to the site, so thought that I would share some of the things that I make. This particular project is the rebuilding of a series 2 Dutton Phaeton...... rebuilding Paul's way  In the past I have shown links to the rebuild post which is on another site , so sorry if some of you have seen some of this stuff before, if not I hope you enjoy. Where ever I can make something from scratch or modify something to fit my purpose, I do. Handbrake LeverThe original handbrake lever was mounted underneath the dash and was a mismatch of old parts and so the whole lot joined the junk pile. I got hold of a BMW Mini handbrake assembly purely because I liked the grip  everything apart from the lever and ratchet plate joined the junk pile. Strangely enough the fiberglass seating tub had a place molded into it for a hand brake lever but was never used. Cutting up some steel plate, I made the body for the lever, perfectly fit the molding, make and weld on some fixing bosses, modify the cable fixing on the end of the lever and give it all a coat of black paint, we now have a custom hand brake lever. To make it all neat and tidy a trim panel was required to cover the workings, this was made from 1.5mm aluminium plate and covered in the same vinyl as the dash and centre console. 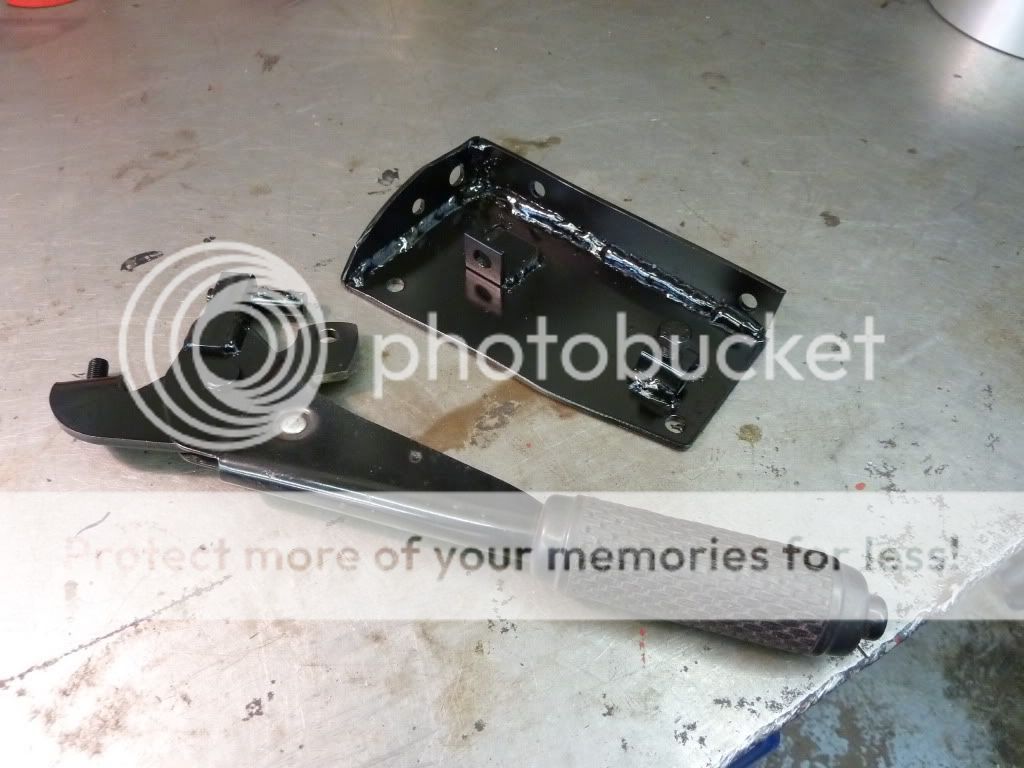 From Paul's workshop. 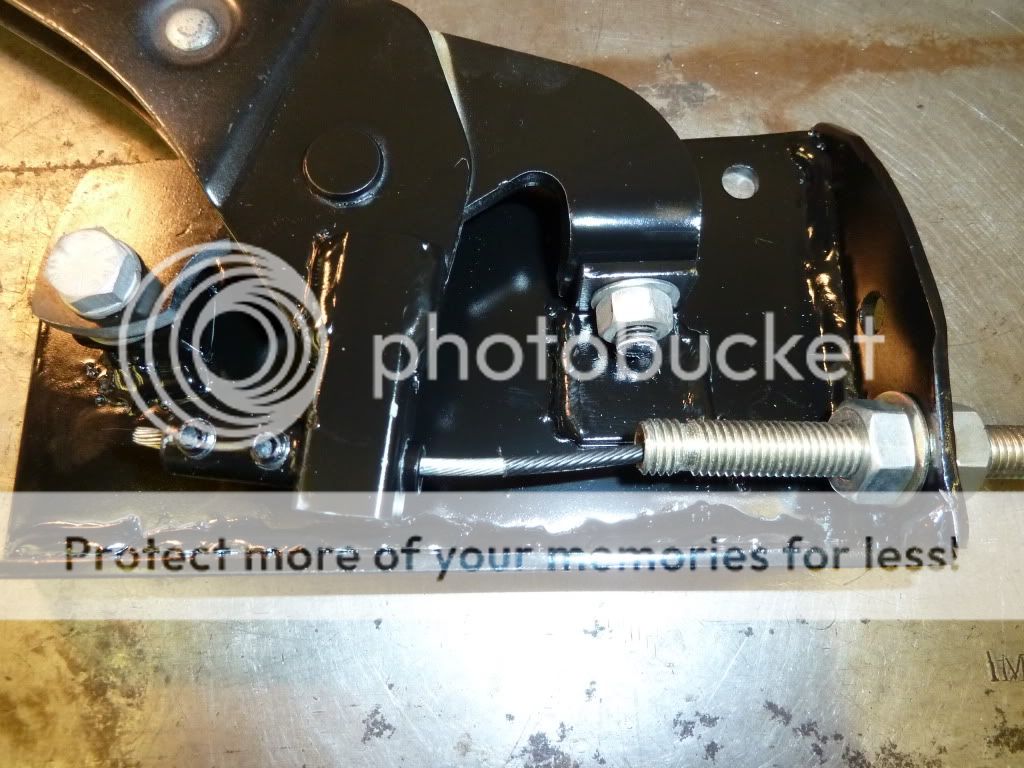 From Paul's workshop.  From Paul's workshop. 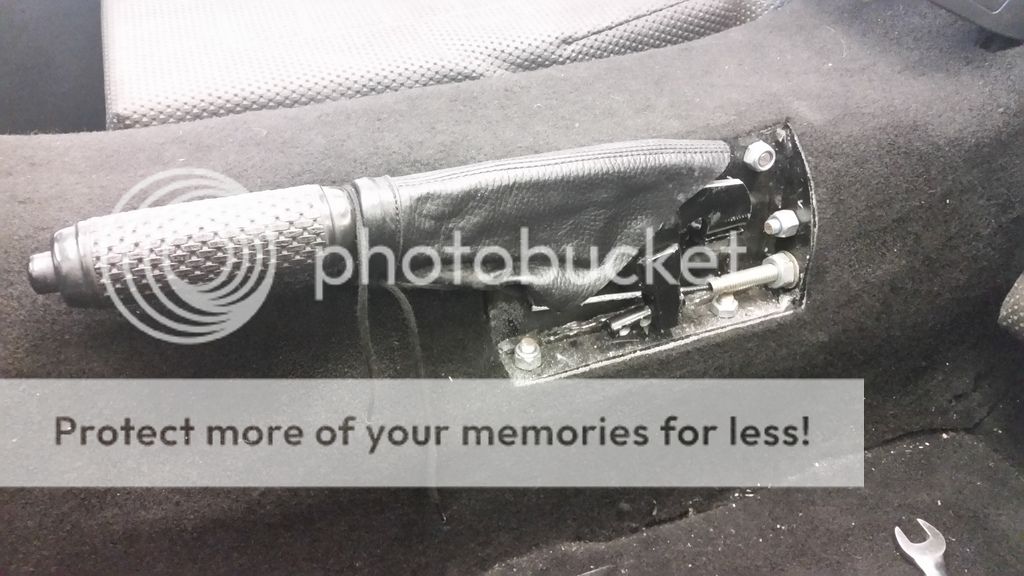 From Paul's workshop. 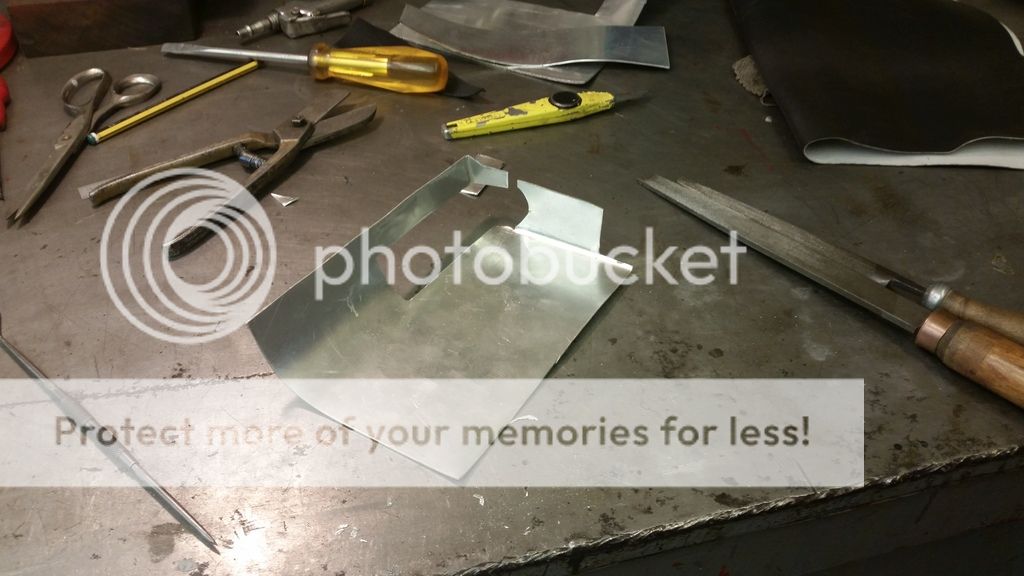 From Paul's workshop. 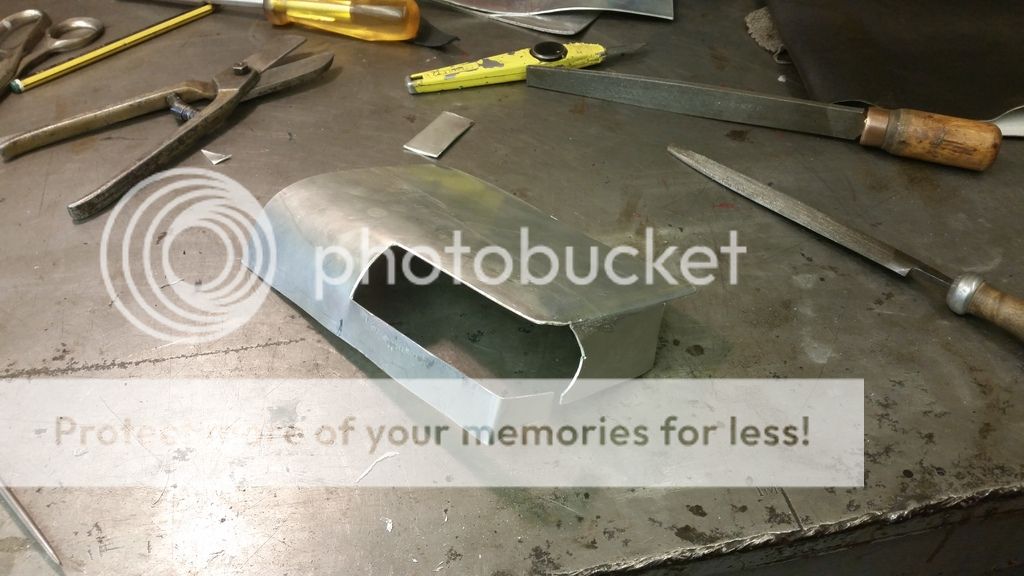 From Paul's workshop. 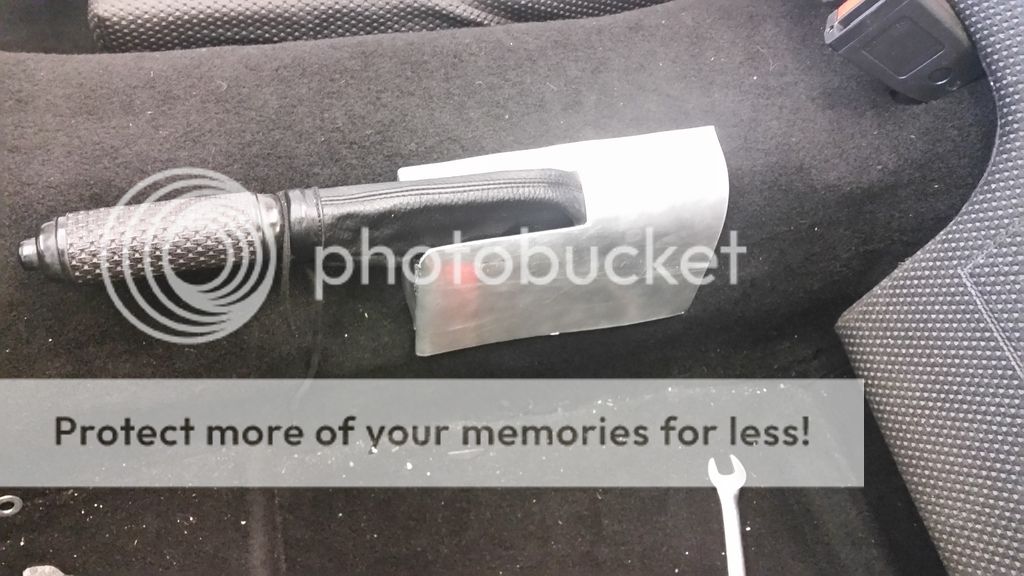 From Paul's workshop.  From Paul's workshop. |
|
|
|
|
 Logged
|
Precision Guesswork ......... What else do you need?
|
|
|
|
spanners
|
|
« Reply #1 on: October 24, 2015, 06:52:59 PM » |
|
|
|
|
|
|
Logged
|
LIVE FAST and DIE YOUNG,, past 50 AND STILL HERE NOW. WAITING. FOR. THE. GRIM. REAPER
|
|
|
Manky Monkey
Administrator
Hero Member

Karma: 264
Posts: 55102

|
|
« Reply #2 on: October 24, 2015, 09:00:26 PM » |
|
Oooh, a new project thread to read  Tidy handbrake mount. Details make all the difference don't they. |
|
|
|
|
Logged
|
On the last freedom moped out of Nowhere City.
|
|
|
BikerGran
Hero Member

Karma: 94
Posts: 10604
Gran Turismo
|
|
« Reply #3 on: October 24, 2015, 09:29:57 PM » |
|
I quite see why you liked the grip, too!
|
|
|
|
|
Logged
|
You don't stop havin fun because you get old - you get old if you stop havin fun!
|
|
|
No Sound
Full Member
Karma: 3
Posts: 177
|
|
« Reply #4 on: October 29, 2015, 10:57:58 PM » |
|
Nice work and good pictures, nice to see how it was made and the end fit.
Andy
PS I enjoyed my Phaeton is was V6, black, all very exciting at 22.
|
|
|
|
|
Logged
|
|
|
|
|
Mendalot
|
|
« Reply #5 on: October 31, 2015, 09:12:34 AM » |
|
The Dash and Scuttle The dash on the S2 Phaeton, being a flat angled panel, is just plain boring! It also forms part of the dash scuttle to which the screen fits on to. The scuttle is usually riveted onto the chassis rails as a permanent fixture, but in my mind I wanted to make it removable in order to easily gain access to the electrics and pedal box etc. So the SP on this part of the project :- make a removable scuttle with a more modern looking dash. I started by cutting off the old dashboard facia, then extended the scuttle to form a surround for the new dash. Using 8mm plywood for the extension, cuttting some rebates with my trusty old pillar drill and a milling cutter, these were then bonded to the scuttle with CT1 adhesive and sanded to make the radius follow through from the fiberglass. A couple of small bits of wood glued on, make it look like the side rails also follow through. Then splosh some filler over all the joints and sand. When given a coat of primer, the scuttle didnt look half bad. For the dash board I have used some Alupanel which is primarily used in the sign business, comprising of two sheets of 0.03mm aluminium sheet, sandwiching a polythene core with an over all thickness of 3.5mm. The centre console is made from plywood and again using the Alupanel for the centre. 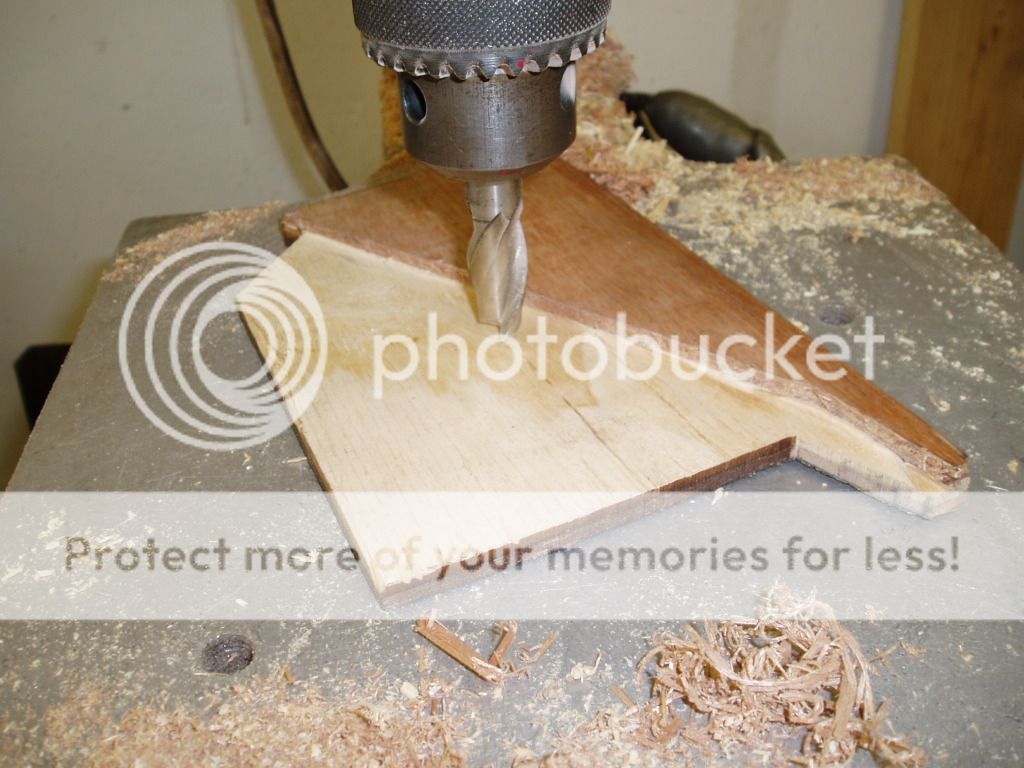 From Paul's workshop. 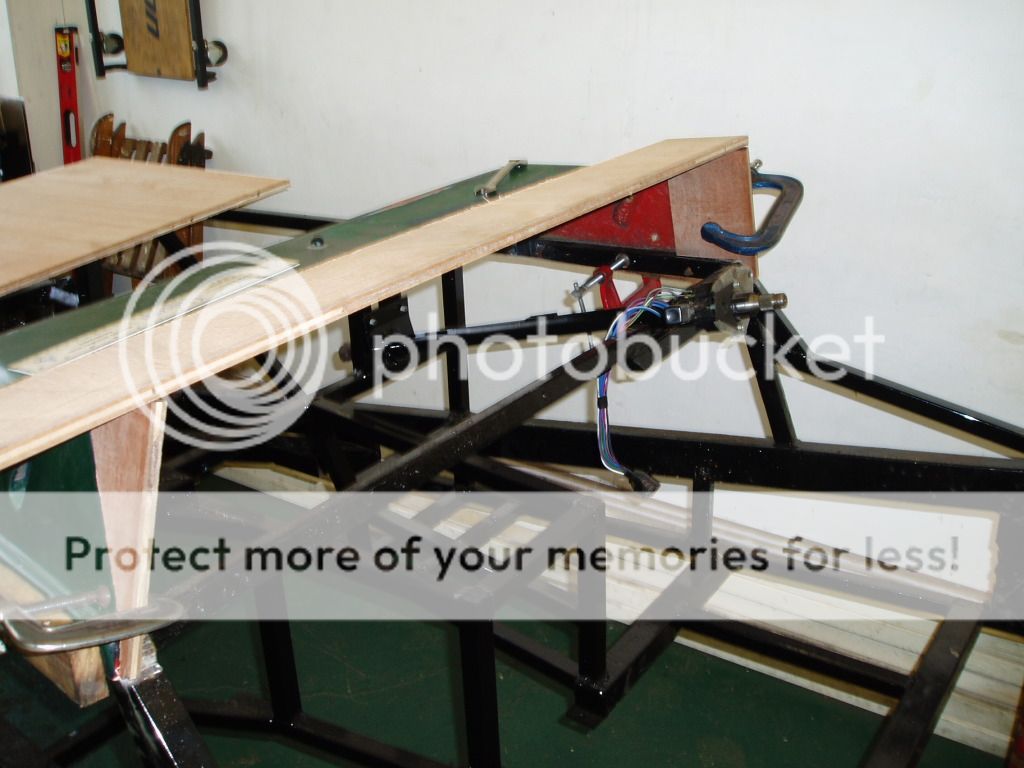 From Paul's workshop. 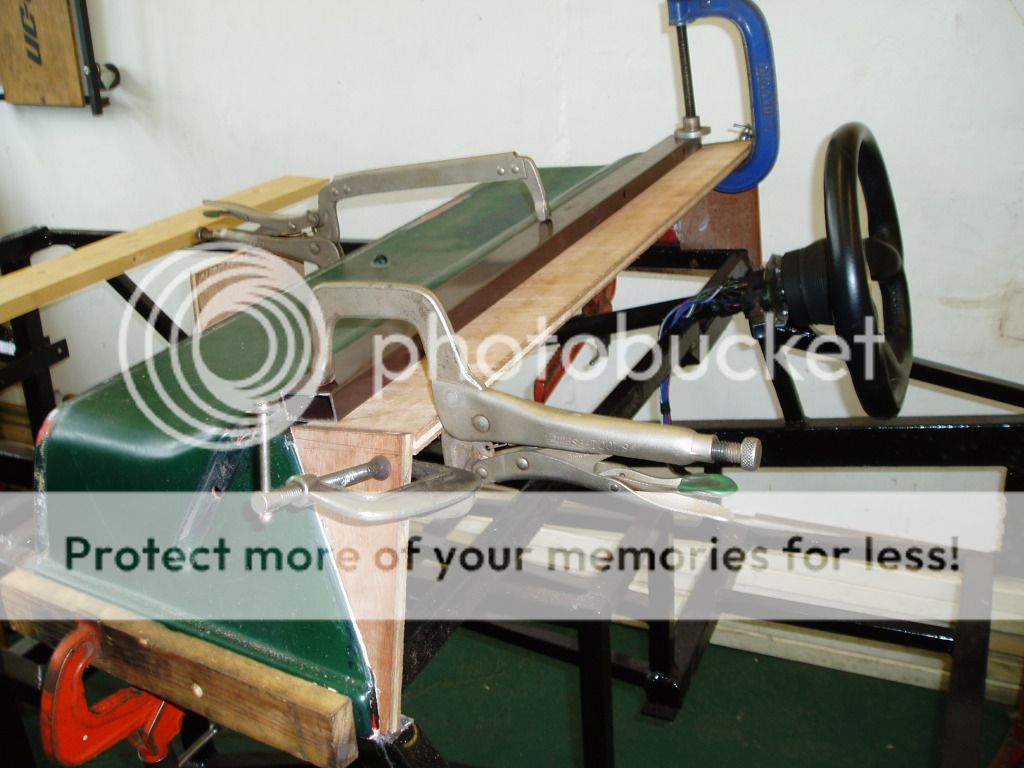 From Paul's workshop. 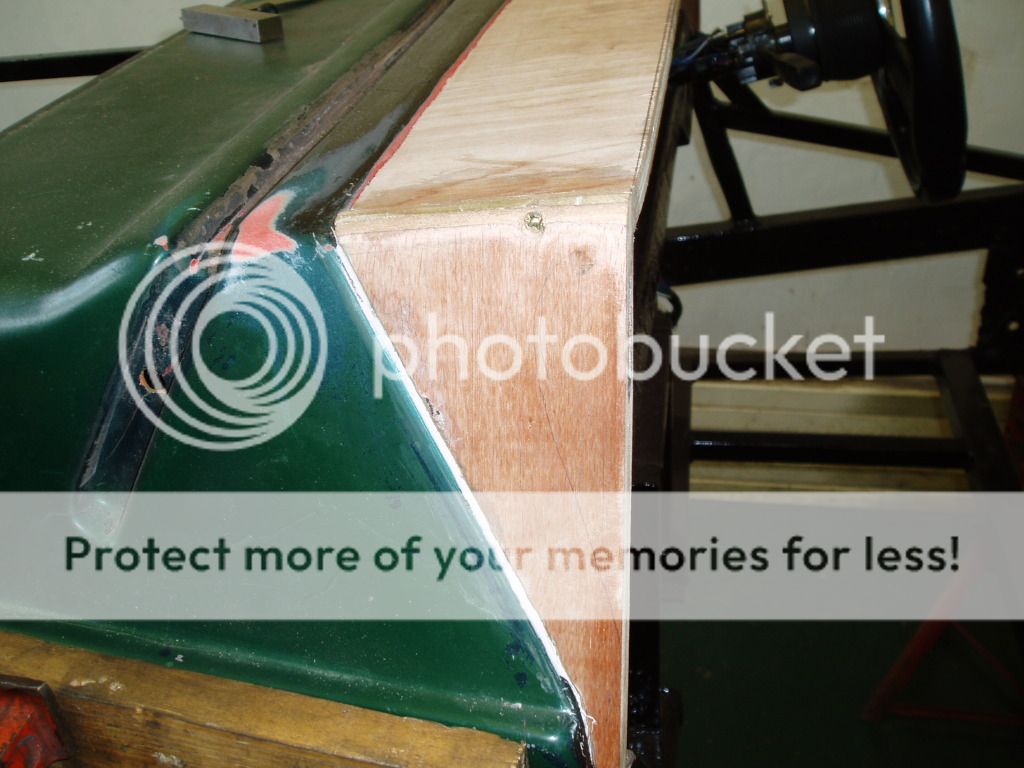 From Paul's workshop. 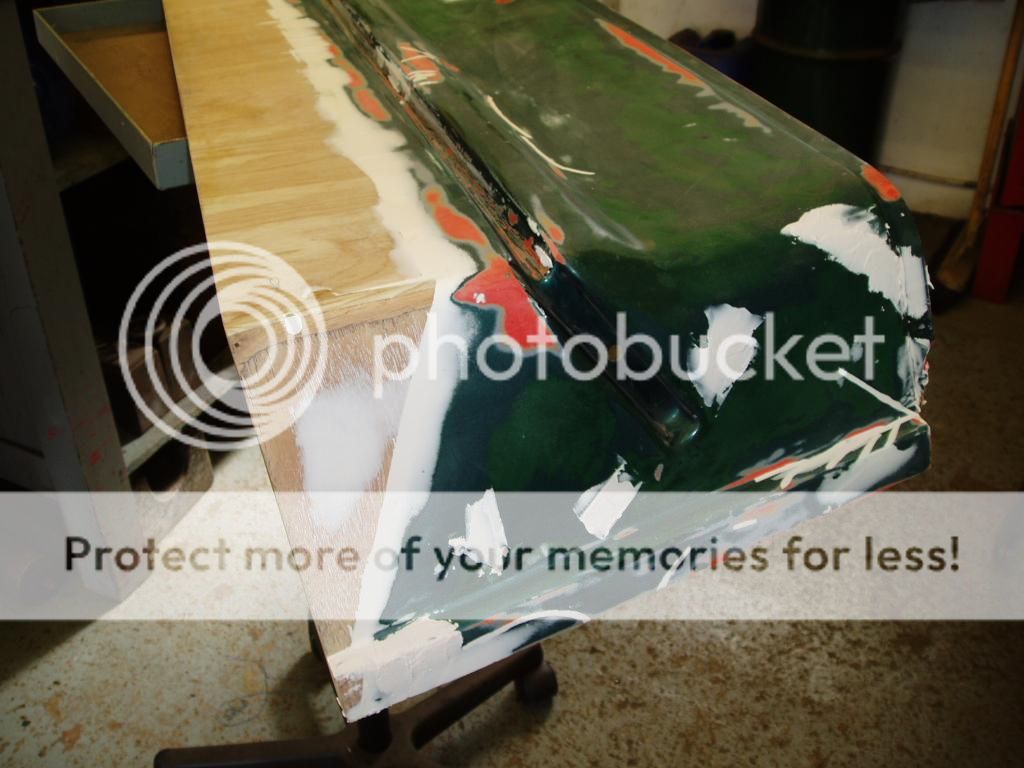 From Paul's workshop. 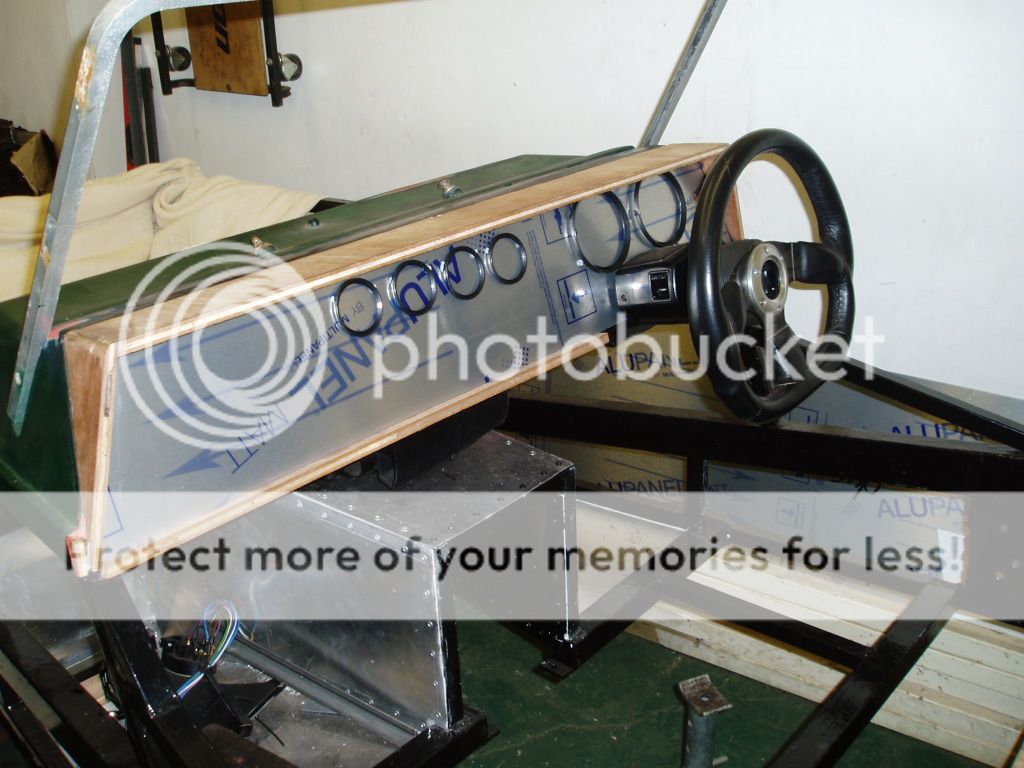 From Paul's workshop. 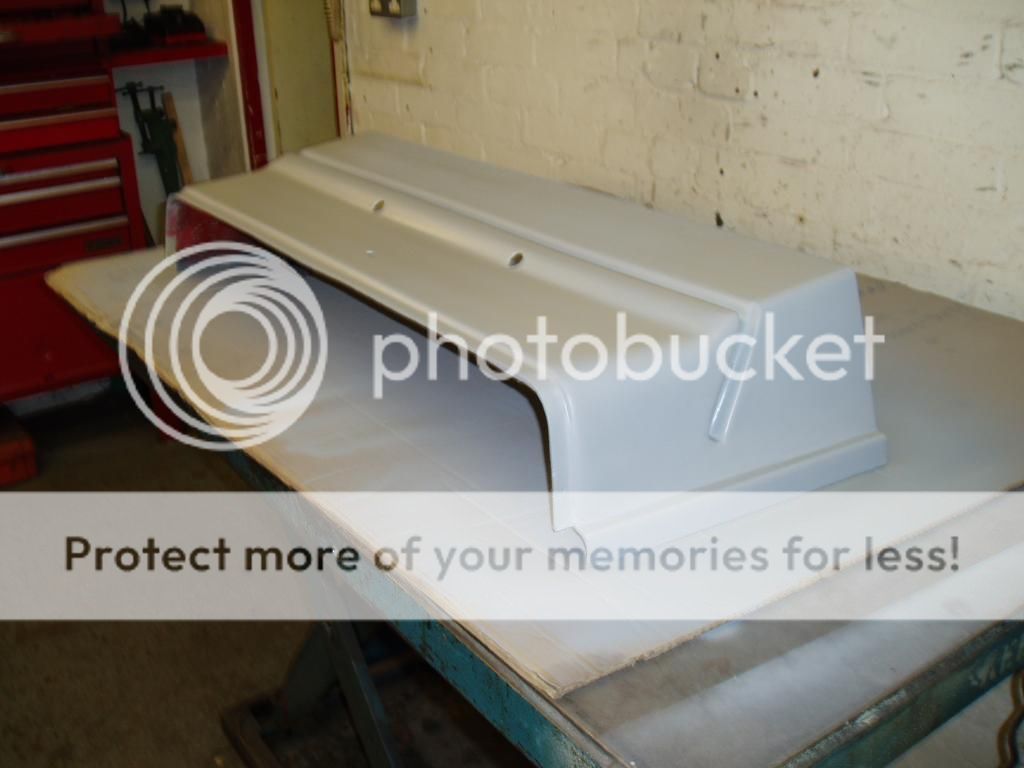 From Paul's workshop. 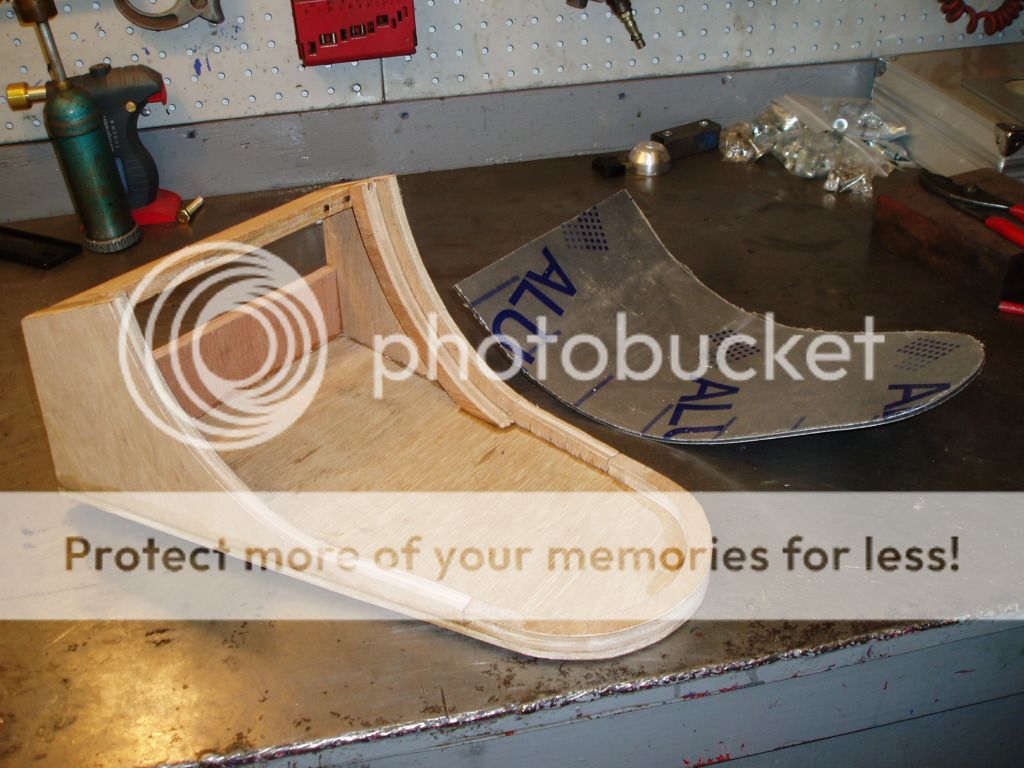 From Paul's workshop. |
|
|
|
« Last Edit: October 31, 2015, 09:19:19 AM by Mendalot »
|
Logged
|
Precision Guesswork ......... What else do you need?
|
|
|
|
Olds
|
|
« Reply #6 on: October 31, 2015, 09:31:10 AM » |
|
Oooh nice.
|
|
|
|
|
Logged
|
Getting older but no wiser! Just using bigger hammers.
The answer to most problems, fire and lots of it.
|
|
|
Manky Monkey
Administrator
Hero Member
Karma: 264
Posts: 55102
|
|
« Reply #7 on: October 31, 2015, 07:00:09 PM » |
|
That turned out well.
|
|
|
|
|
Logged
|
On the last freedom moped out of Nowhere City.
|
|
|
|
Mendalot
|
|
« Reply #8 on: November 01, 2015, 12:30:57 PM » |
|
Next job was to modify the scuttle for a screen de-mister, this was done using vents purchased from Car Builder Solutions (CBS) and some old drain pipe as a plenum. I cut the pipe in half and glassed it onto the under side of the scuttle, with the inlet positioned just to the left of the heater motor so a short length of flexible pipe can drop down vertically and clip onto the heater with a 90 degree elbow. 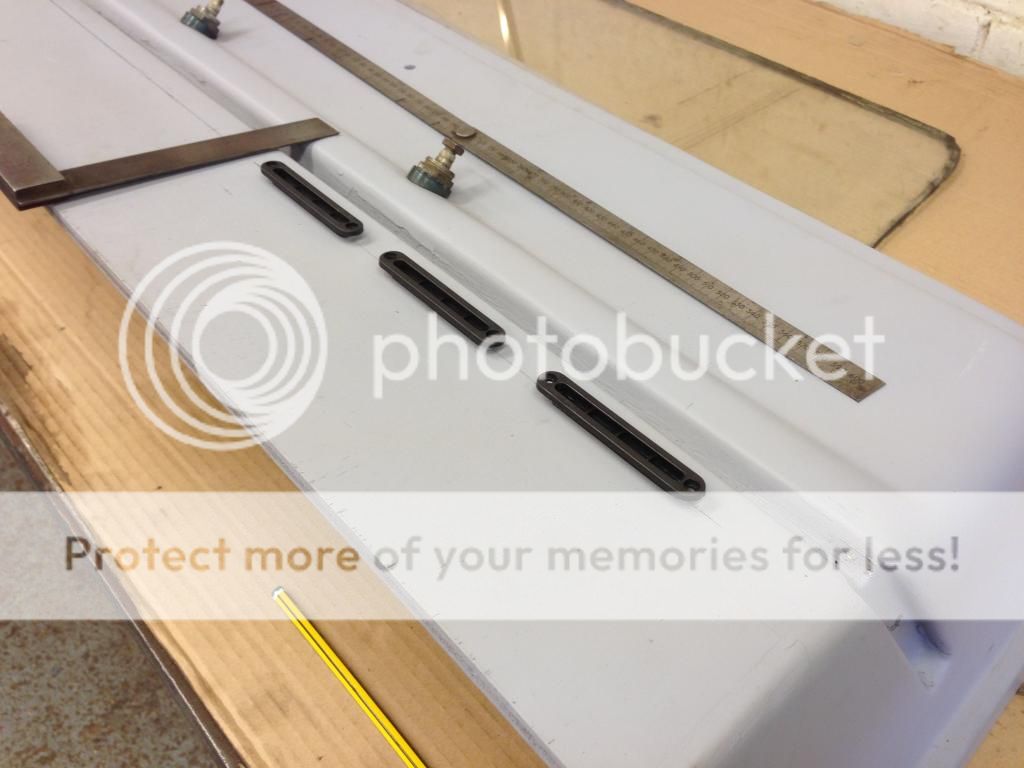 From Paul's workshop. 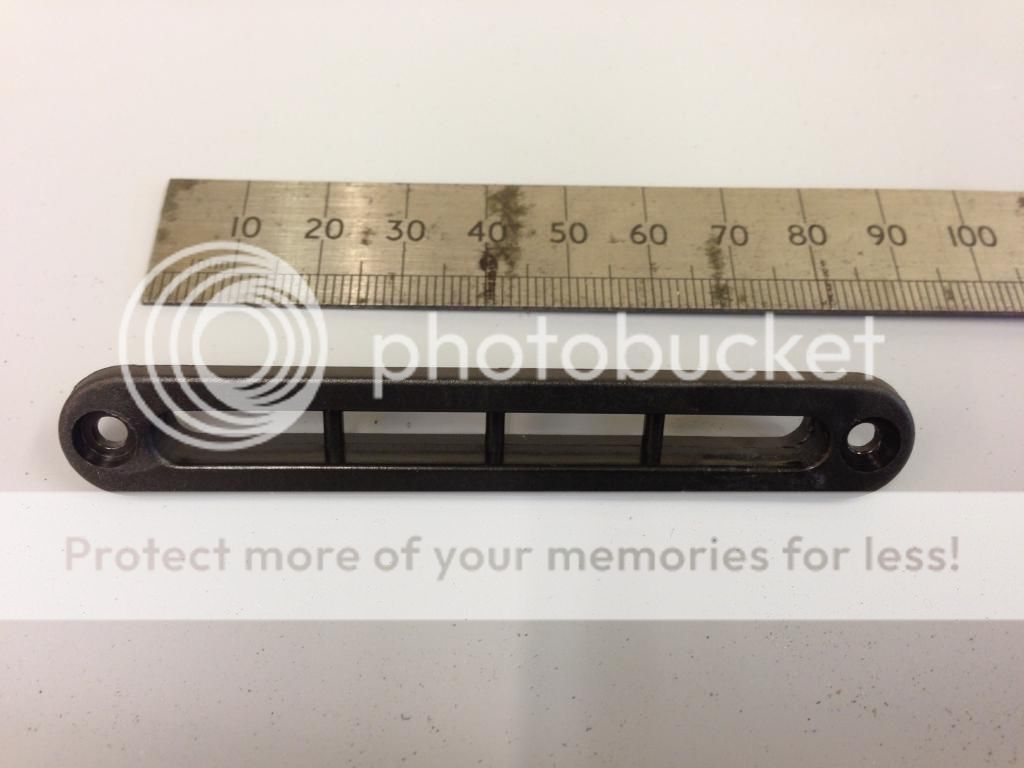 From Paul's workshop. 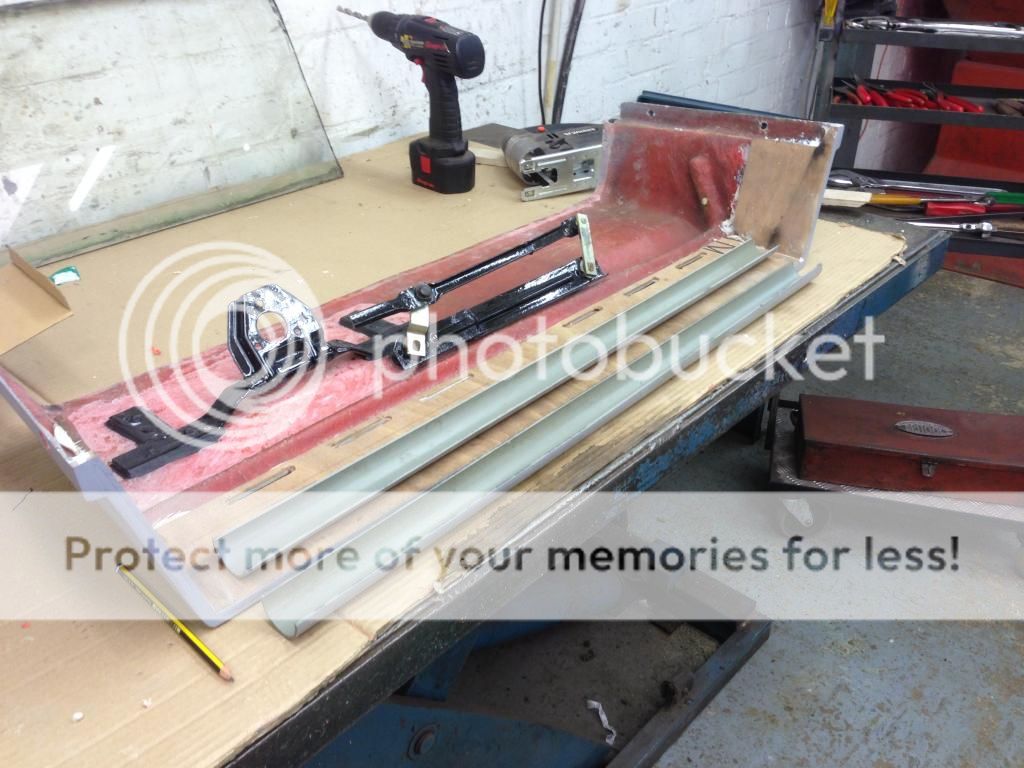 From Paul's workshop. 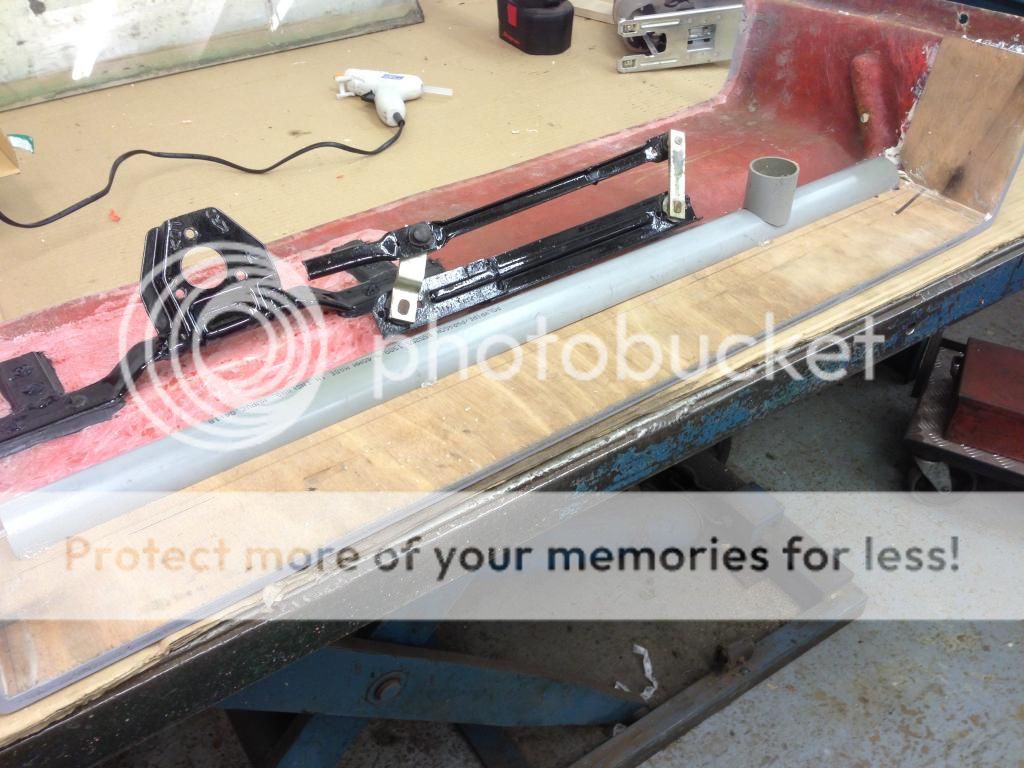 From Paul's workshop. 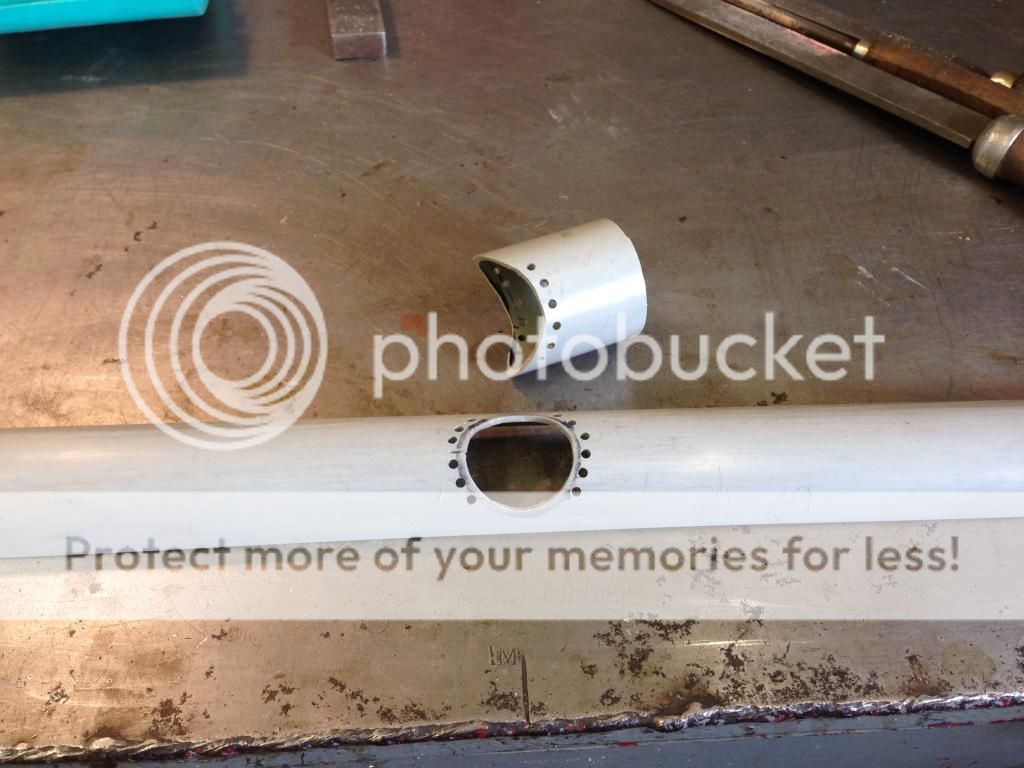 From Paul's workshop. 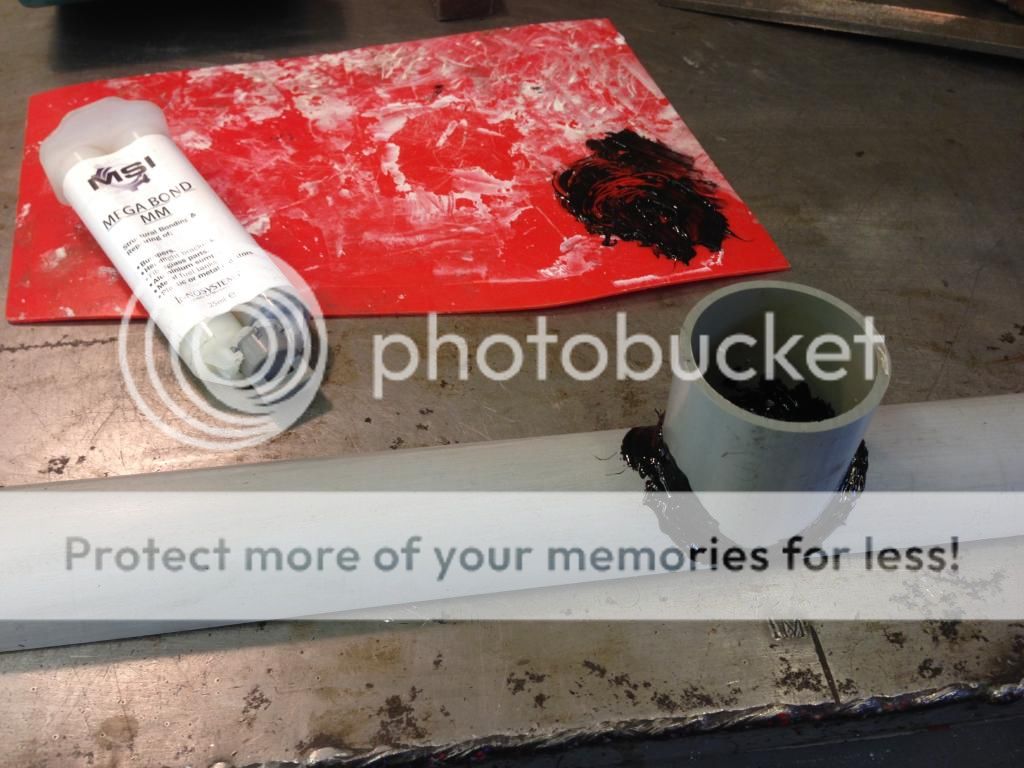 From Paul's workshop. 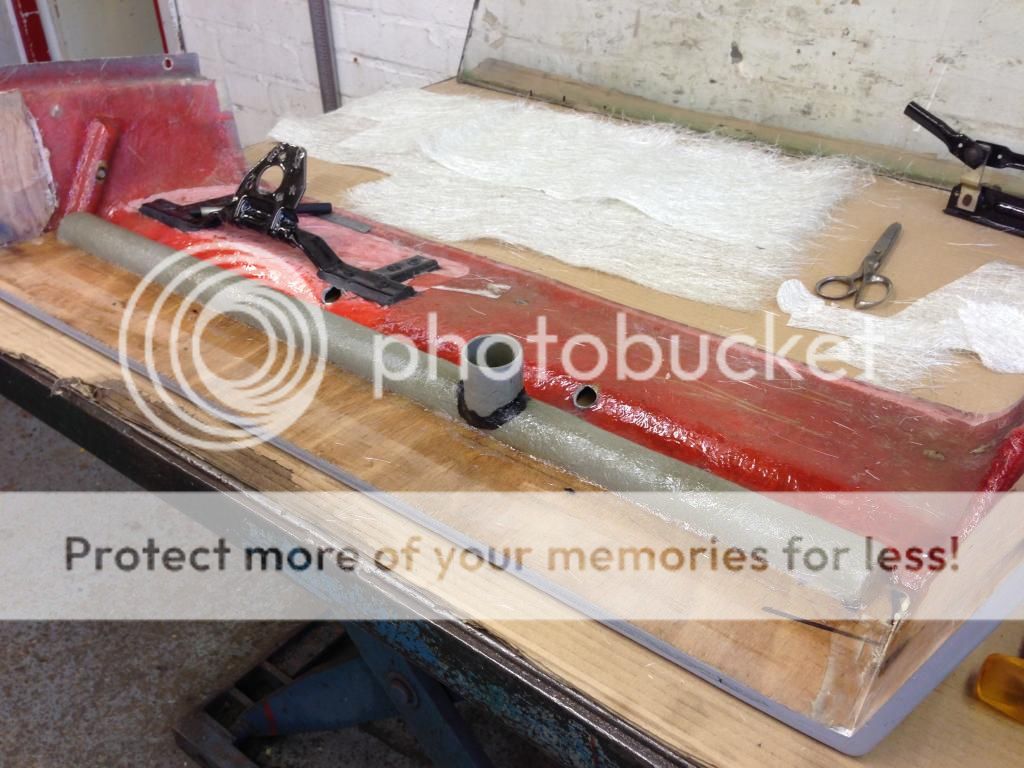 From Paul's workshop. |
|
|
|
|
Logged
|
Precision Guesswork ......... What else do you need?
|
|
|
stinkey
Hero Member
Karma: 93
Posts: 2757
I can't stop building stuff ?,but I'm slowing down
|
|
« Reply #9 on: November 01, 2015, 03:06:26 PM » |
|
Will you need a de mister for the screen in this one ? As for the drain pipe,reminds me of the time my mate made some side pipes for his Anglia using plastic drain pipe..  looked good for a while  ) he also made some bubble arches from chicken wire and paper mâché ..he.he..and two back wheels ( making 4 on the back axle ) he couldn't afford much those days..oh joyous times.. |
|
|
|
|
Logged
|
Backyard hotrodder,learnt by mistake,still learning ?
|
|
|
|
Mendalot
|
|
« Reply #10 on: November 04, 2015, 10:11:20 PM » |
|
De mister is always handy just in case the interior gets a dowsing of rain, cos when the soft top goes on it turns into the tropics inside The scuttle will be fixed on with some custom side clamps made from cut down 2mm steel angle, taking advantage of a friend who had access to a laser cutter the model name was cut into them and then off to the chromers
. Well pleased with the result. My first attempt at covering the dash surrounds and centre console with vinyl went better than expected, I used a spray contact adhesive used on coach dash boards so it should stay put in the sun. The black felt tip mark you see as an arc on the dash board is my line of site from the driving position. 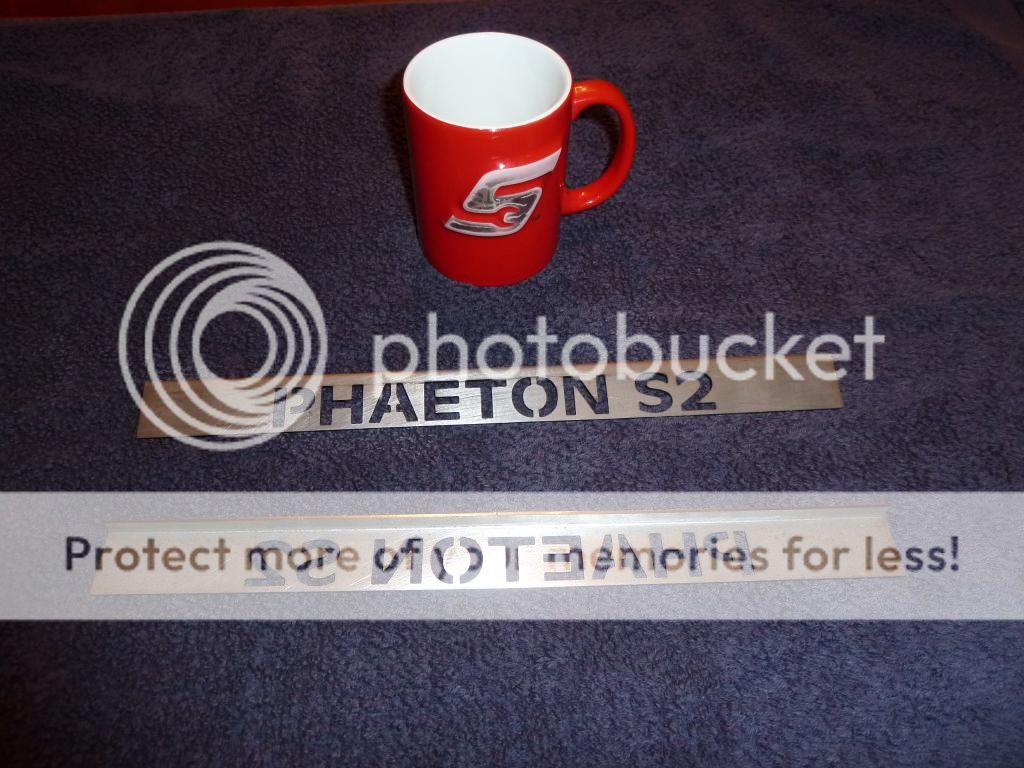 From Paul's workshop. 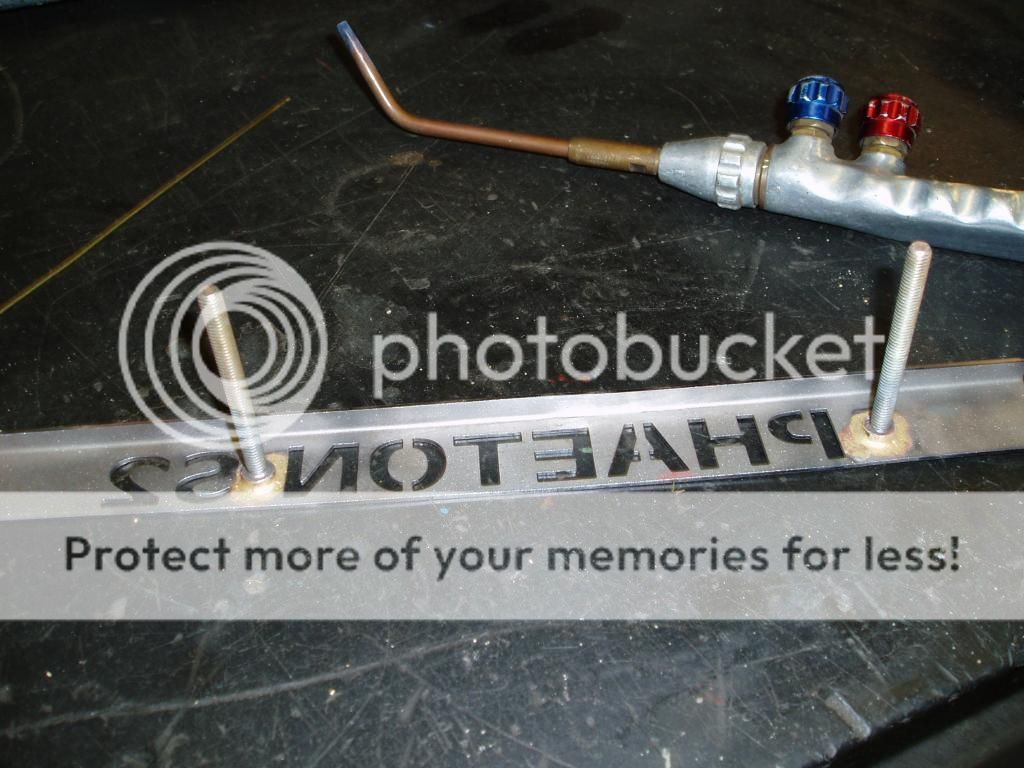 From Paul's workshop. 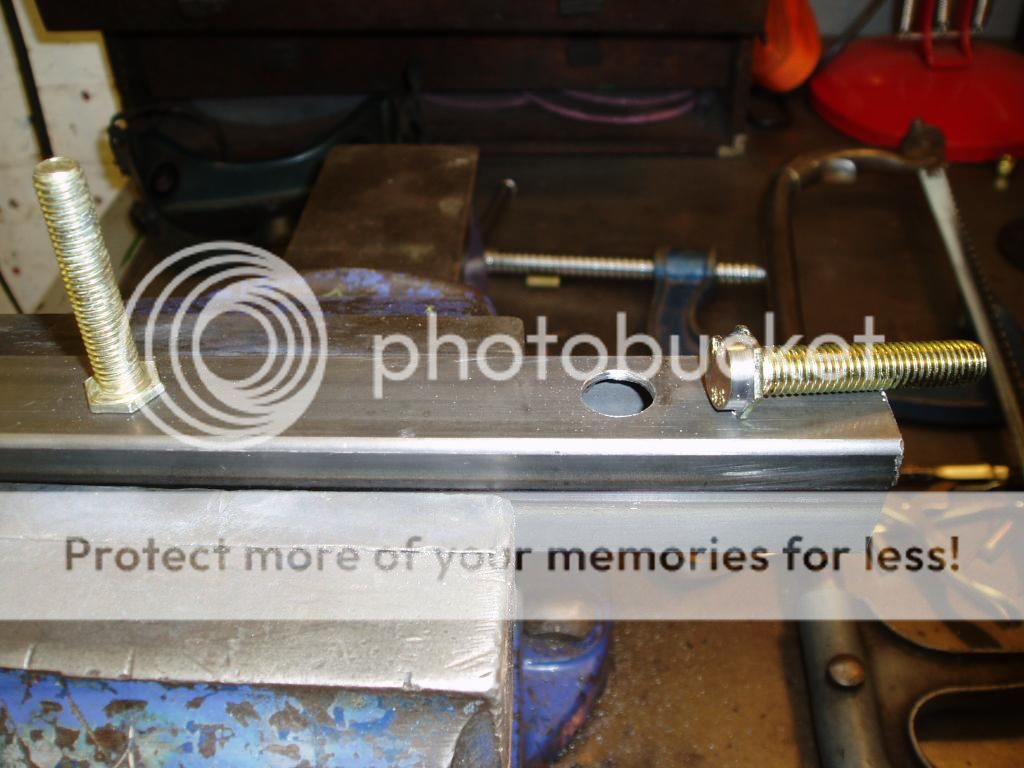 From Paul's workshop. 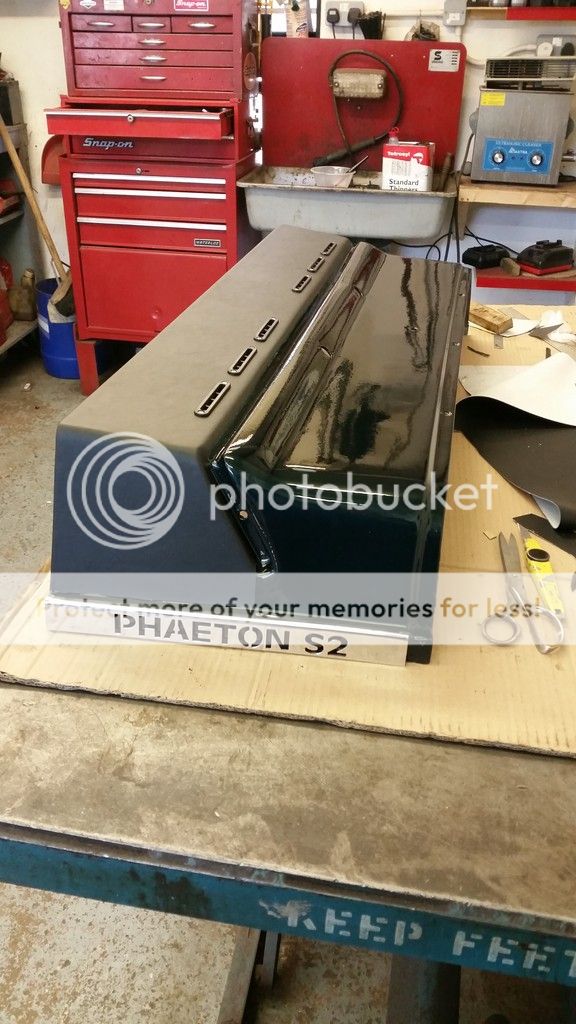 From Paul's workshop. 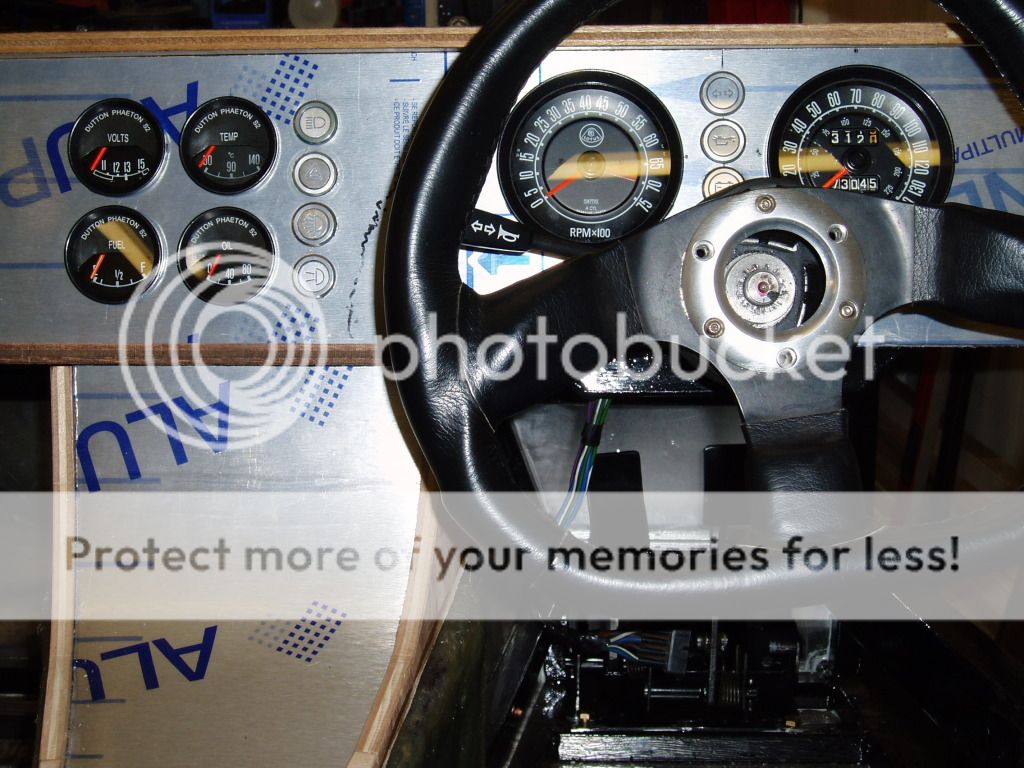 From Paul's workshop. 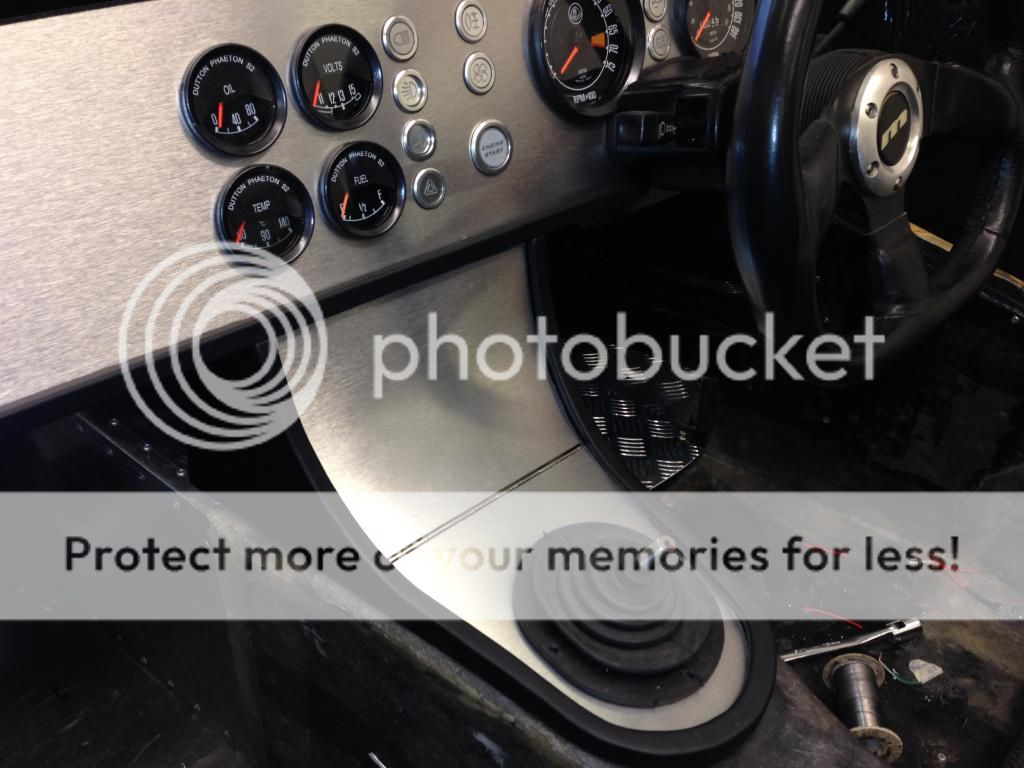 From Paul's workshop. 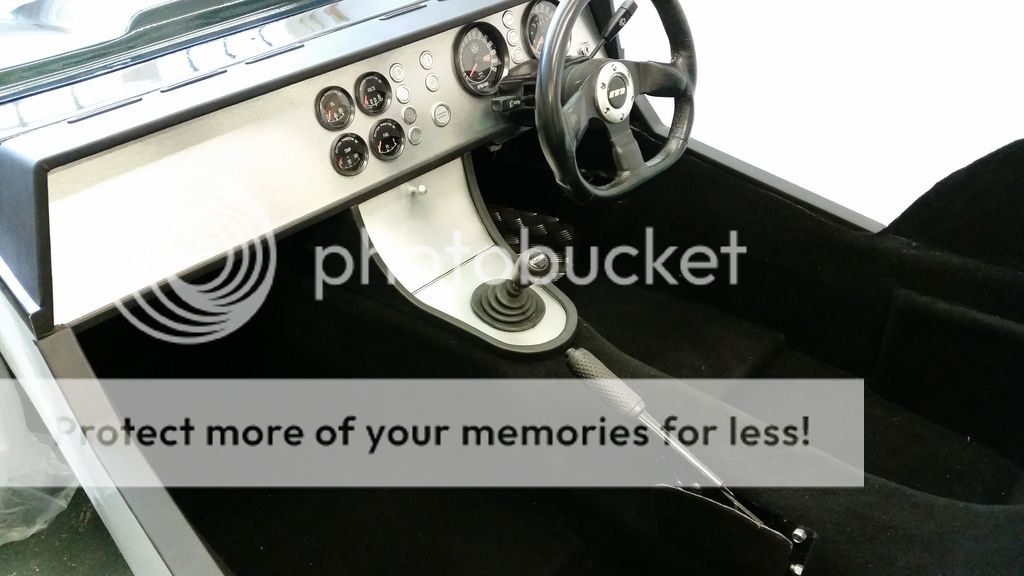 From Paul's workshop. |
|
|
|
|
Logged
|
Precision Guesswork ......... What else do you need?
|
|
|
Manky Monkey
Administrator
Hero Member
Karma: 264
Posts: 55102
|
|
« Reply #11 on: November 05, 2015, 06:32:49 PM » |
|
That's luvverly.
|
|
|
|
|
Logged
|
On the last freedom moped out of Nowhere City.
|
|
|
|
minimutly
|
|
« Reply #12 on: November 06, 2015, 12:36:56 AM » |
|
Congratulations on your attempts to create a thing of beauty from a sows ear...
One day, perhaps we'll all appreciate the lines of a phaeton, time and fasion can achieve anything, the workmanship and craft youve put into this is impressive however. Look forward to seeing the finished article.
|
|
|
|
|
Logged
|
|
|
|
|
Olds
|
|
« Reply #13 on: November 06, 2015, 06:04:06 AM » |
|
Very tidy indeed. Well done that man.
Never been keen on most kit cars, but I apreciate the work that folk put into making them special.
|
|
|
|
|
Logged
|
Getting older but no wiser! Just using bigger hammers.
The answer to most problems, fire and lots of it.
|
|
|
|
Mendalot
|
|
« Reply #14 on: November 06, 2015, 12:53:31 PM » |
|
Thanks for the kind comments. The humble Dutton is often a subject of much amusement between folk, not surprising given that the majority were built on a shoestring budget and the basic kit from the factory left a whole lot to be desired engineering wise. From a personal point of view, out of all the Severnesque type kit cars, I have always liked the shape of the early Phaeton S1 and S2s. I think the rear end is the best looking and it has the advantage of a boot. So I set myself a target to rebuild the Phaeton into a quality car, and along the way addressing all the engineering points that people seemed to complain about, whilst keeping the car looking predominantly as it was in the brochure
. So at the end it is still a Dutton Phaeton S2, but refined
and a little faster  Coming next, the custom floor mounted pedal box build
.. |
|
|
|
|
Logged
|
Precision Guesswork ......... What else do you need?
|
|
|
|


